CHESTER device info
Open CHESTER → Device info once a device is connected. Uptime sits at the top and ticks while you watch; the device's identity follows beneath it.
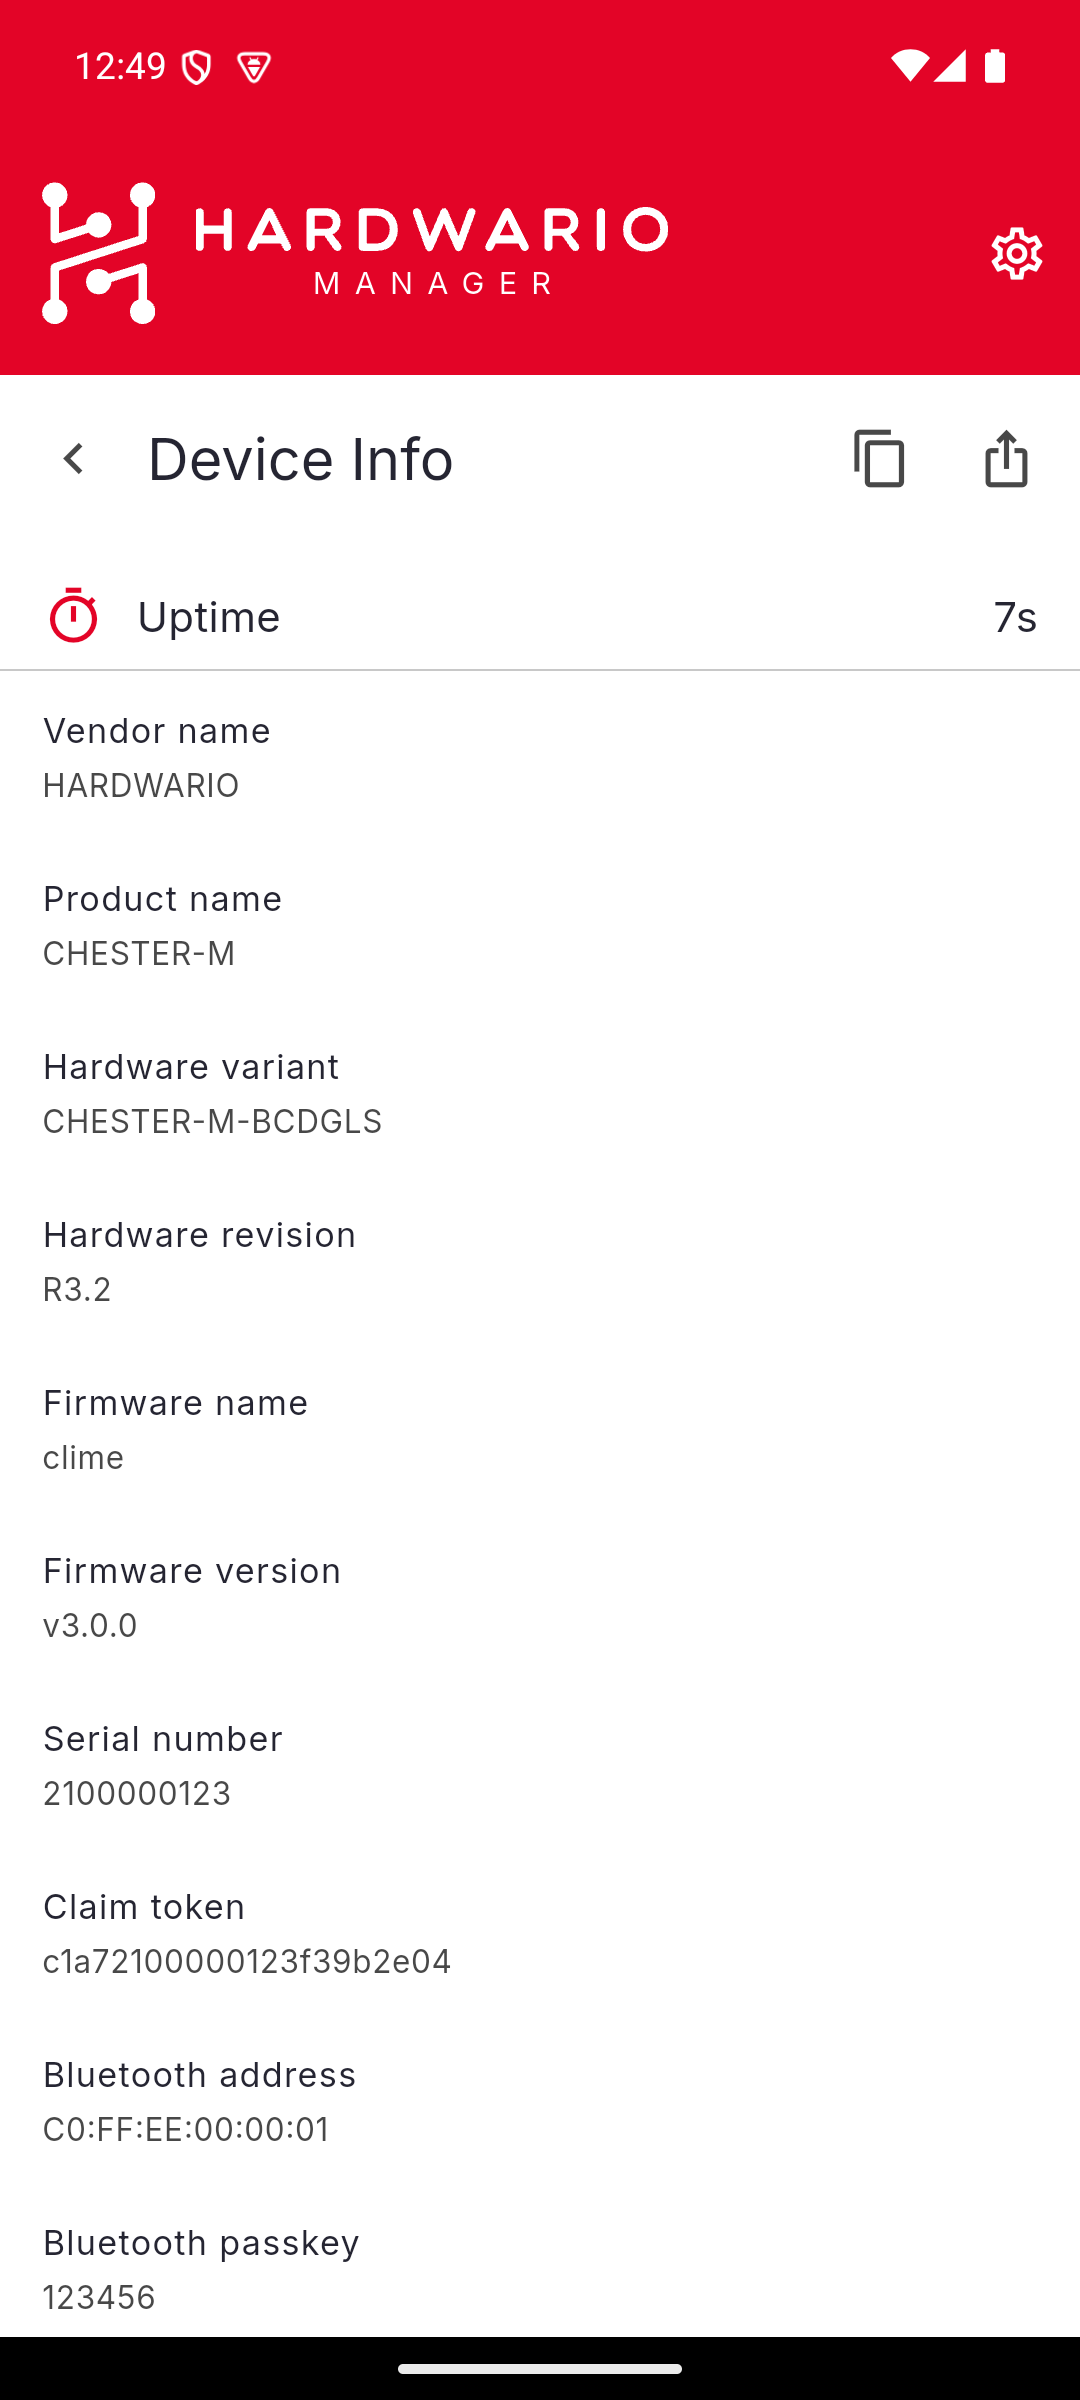
What is shown
| Field | Meaning |
|---|---|
| Uptime | Time since the device last booted, updated live |
| Vendor name | The manufacturer |
| Product name | The product |
| Hardware variant | The variant code of this unit |
| Hardware revision | The board revision |
| Firmware name | The firmware application. Older firmware may not report it |
| Firmware version | The running version |
| Serial number | The device's identity |
| Claim token | The token used to claim the device |
| Bluetooth address | The device's BLE address |
| Bluetooth passkey | The 6-digit pairing passkey |
Fields the device does not report are left out rather than shown blank. Every value can be selected and copied.
Copy or share it
The actions in the top bar produce the same block of text — the device name
followed by one Label: value line per field:
- Copy device info puts it on the clipboard.
- Share device info opens the phone's share sheet.
This is the quickest way to send a device's identity to support.
Device controls
The menu describes this screen as serial, firmware, uptime and device controls — the controls sit below the field list. Save configuration writes whatever is currently set on the device into its memory, so the settings survive a reboot.
Rebooting the device and restoring it to factory defaults are under Tools.
Controls are disabled while the app is busy talking to the device. If an action fails, the app says so and offers Details, which opens the underlying error with a Copy button.
Save configuration here commits whatever is currently set on the device. It is the same commit step that Configuration performs for you after writing your edits — use it when you have changed settings from the Terminal and want them to persist.