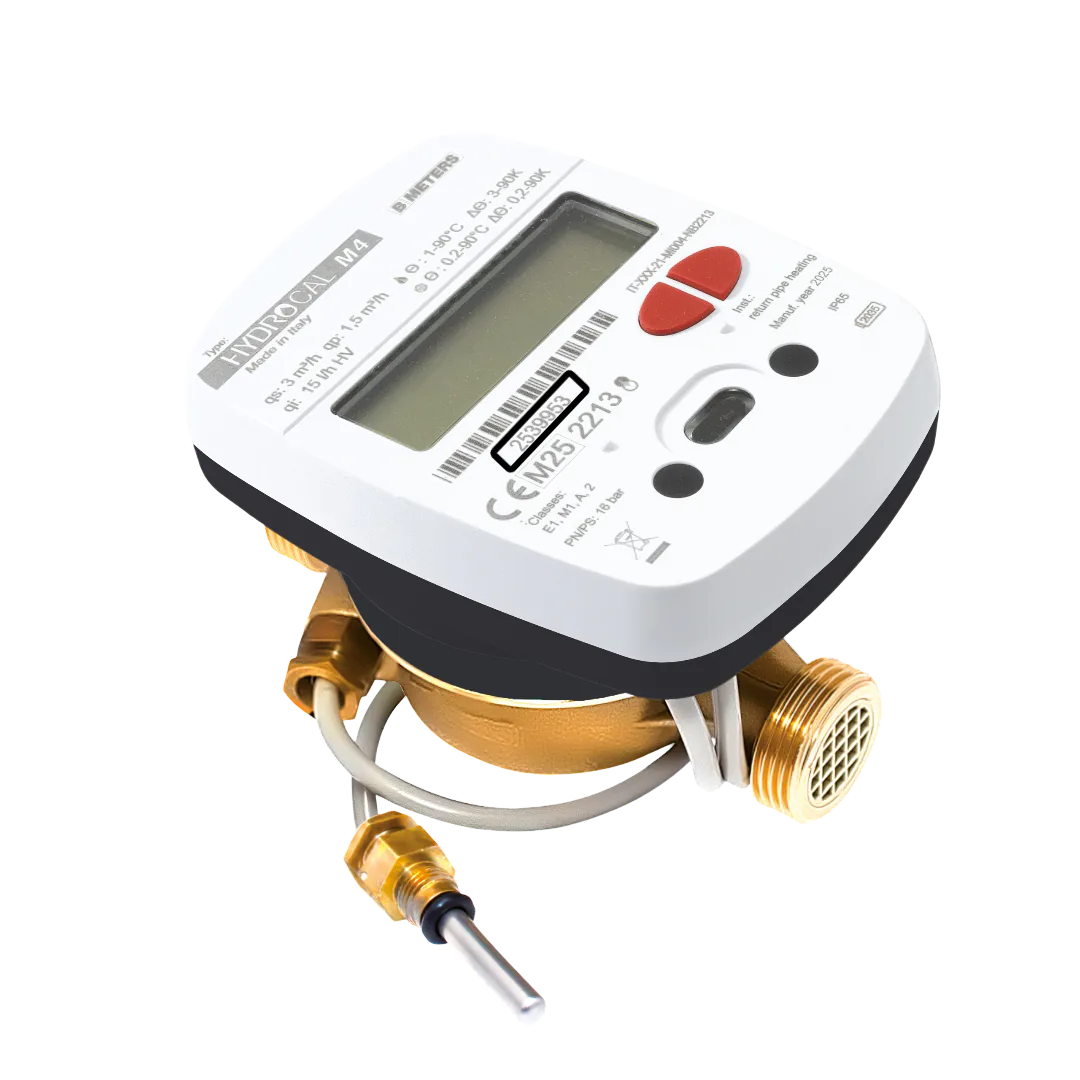
BMeters Hydrocal M4
Description
Compact heat/BTU meter capable of measuring the amount of energy used for heating and/or cooling individual utilities served by a centralized system.
Configuration
Configuration Guide for Hydrocal M4 Thermal energy meter via NFC
This guide describes the steps to configure a Hydrocal M4 thermal energy meter using an Android smartphone.
Step 1: Install the Configuration App
Download the B METERS NFC Config application from the Google Play Store:
https://play.google.com/store/apps/details?id=it.gread.bmeters_appnfc&hl=en
You can scan the QR code below to go directly to the app:

Step 2: Connect to the Meter
- Enable NFC on your Android device.
- Open the B METERS NFC Config app.
- Hold your smartphone close to the NFC tag on the meter until the connection is established.
Step 3: Select Device Type
From the list of available devices, select:
- HYDROCAL-M4
Step 4: Configure Sensor Parameters
Adjust the following settings:
- AMR: Check (enable automatic meter reading)
- Global encryption: Check (Use of a global key instead of an individual one)
- Ignore 5L: Press Next, then select Ignore 5L (so that transmission starts immediately)
- The M-Bus icon lights up to indicate it is being prepared.
- Both the M-Bus icon and the transmission symbol must blink for data transmission to start.
Step 5: Write Configuration to Meter
- Bring your phone close to the NFC tag again.
- Tap the Write button.
- Wait for the message: Writing Done.
Step 6: Verify Settings
- Tap the Read button.
- Check that the configured values match what was written.
Your meter is now successfully configured.
Wireless M-Bus Address Configuration
Where to Find the Address on the Device
The address is located on the left side below the barcode, as shown in the image below (8 digits).
Mapping the wM-Bus Address to CHESTER
The mapping must be carried out using the CHESTER Terminal, for example with:
Managing and Adding wM-Bus Device Addresses in CHESTER
Here you can manage the list of wM-Bus addresses (add/remove), adjust scan settings, and review example configurations for typical setups.
- Address List Configuration: manage and edit the list of linked wM-Bus addresses
- Scan Configuration: adjust scan settings for device communication
- Example Configurations: reference templates for typical setups
Message Encryption and Key Management
The transmitted messages are encrypted.
The received data must therefore be decrypted, which is done using decryption keys.
To achieve this, there are two options:
- HARDWARIO Cloud: tutorial on how to enter and manage decryption keys
- Decryption page: online tool for manual data decryption and analysis