MikroTik Gateway Configuration
This step-by-step guide explains how to configure the LoRa interface on a MikroTik gateway using the WebFig interface.
Prerequisites
- Admin access (username & password)
- The gateway’s IP address (e.g.,
http://192.168.1.1)
1. Prepare LoRa Device for Configuration
- Open your browser and log in to the gateway via its IP address.
- In the left menu, open WebFig → LoRa.
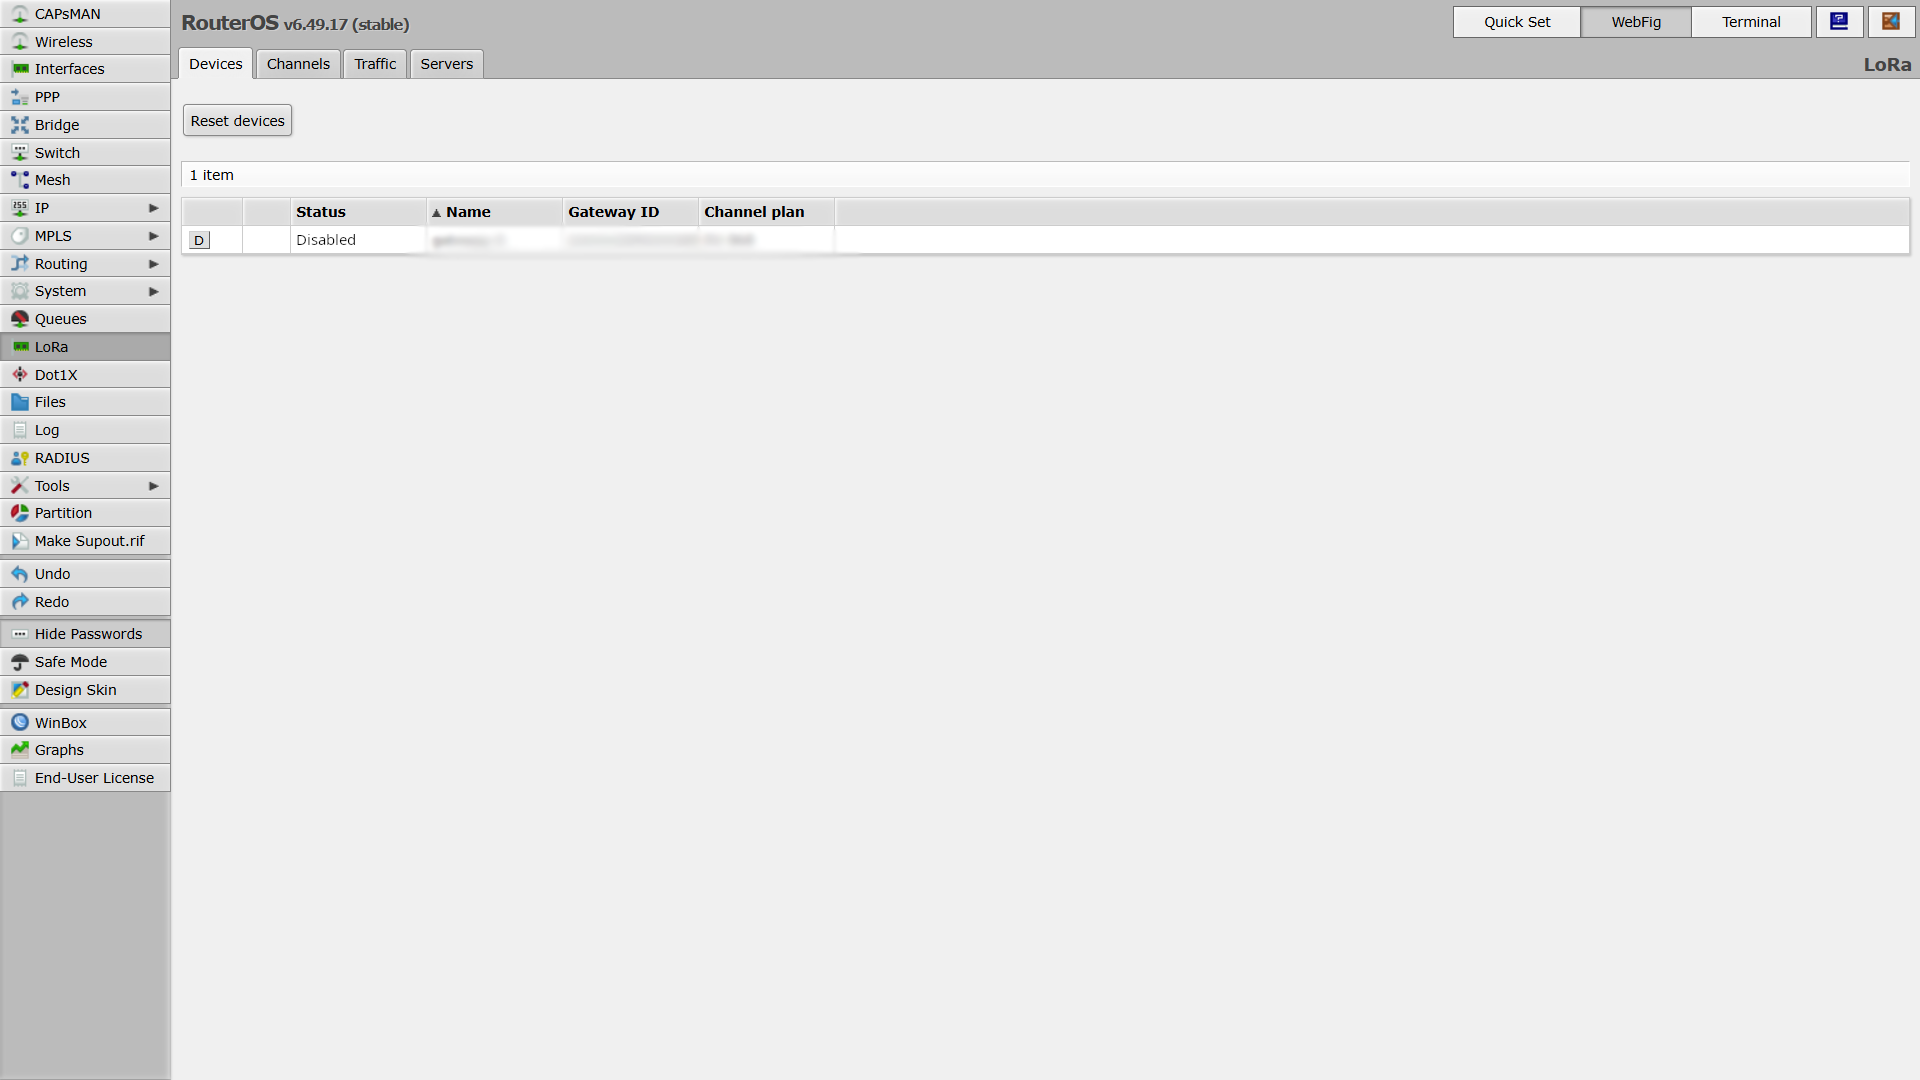
- Go to the Devices tab.
- Check that the gateway status is set to Disabled — all LoRa card settings must be made while the card is stopped.
2. Define LoRa Server
- Go to the Servers tab.
- If there are predefined servers (from the manufacturer), you can remove them.
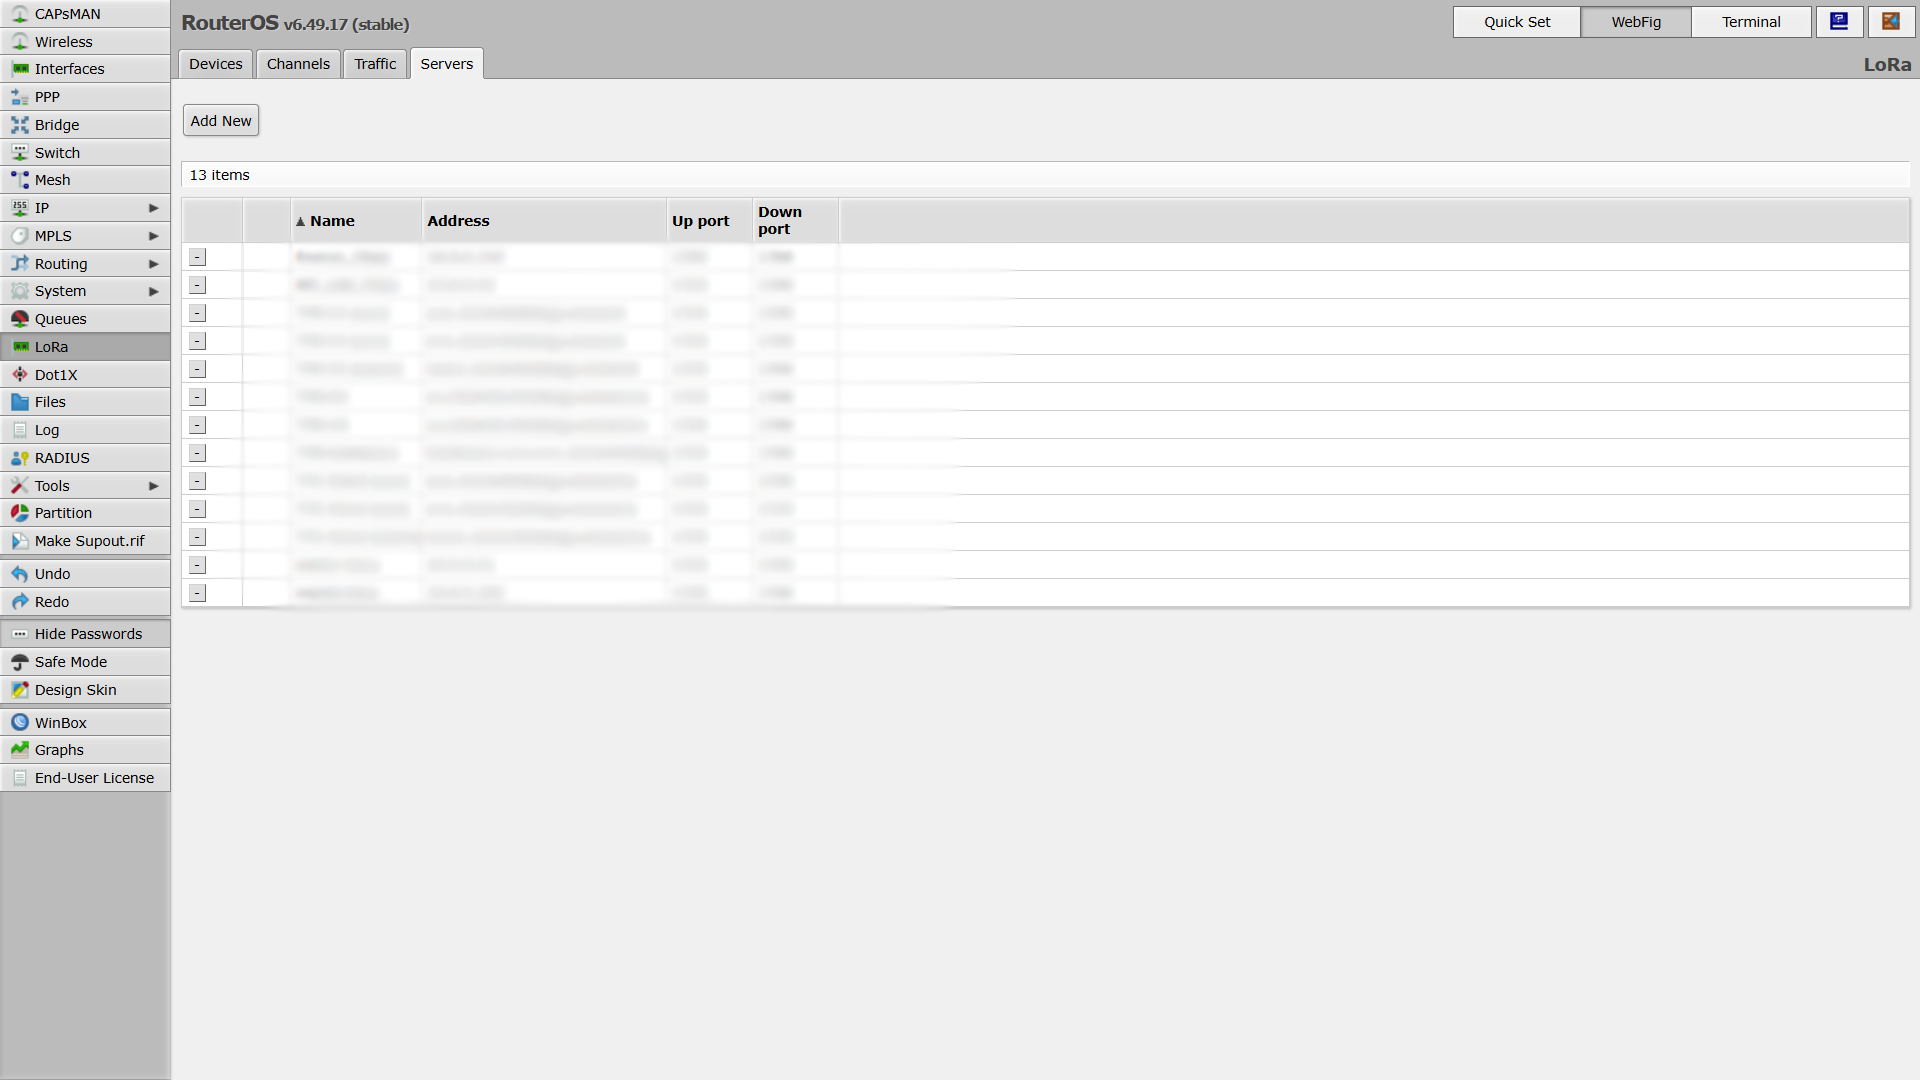
- Click Add New to create your own server.
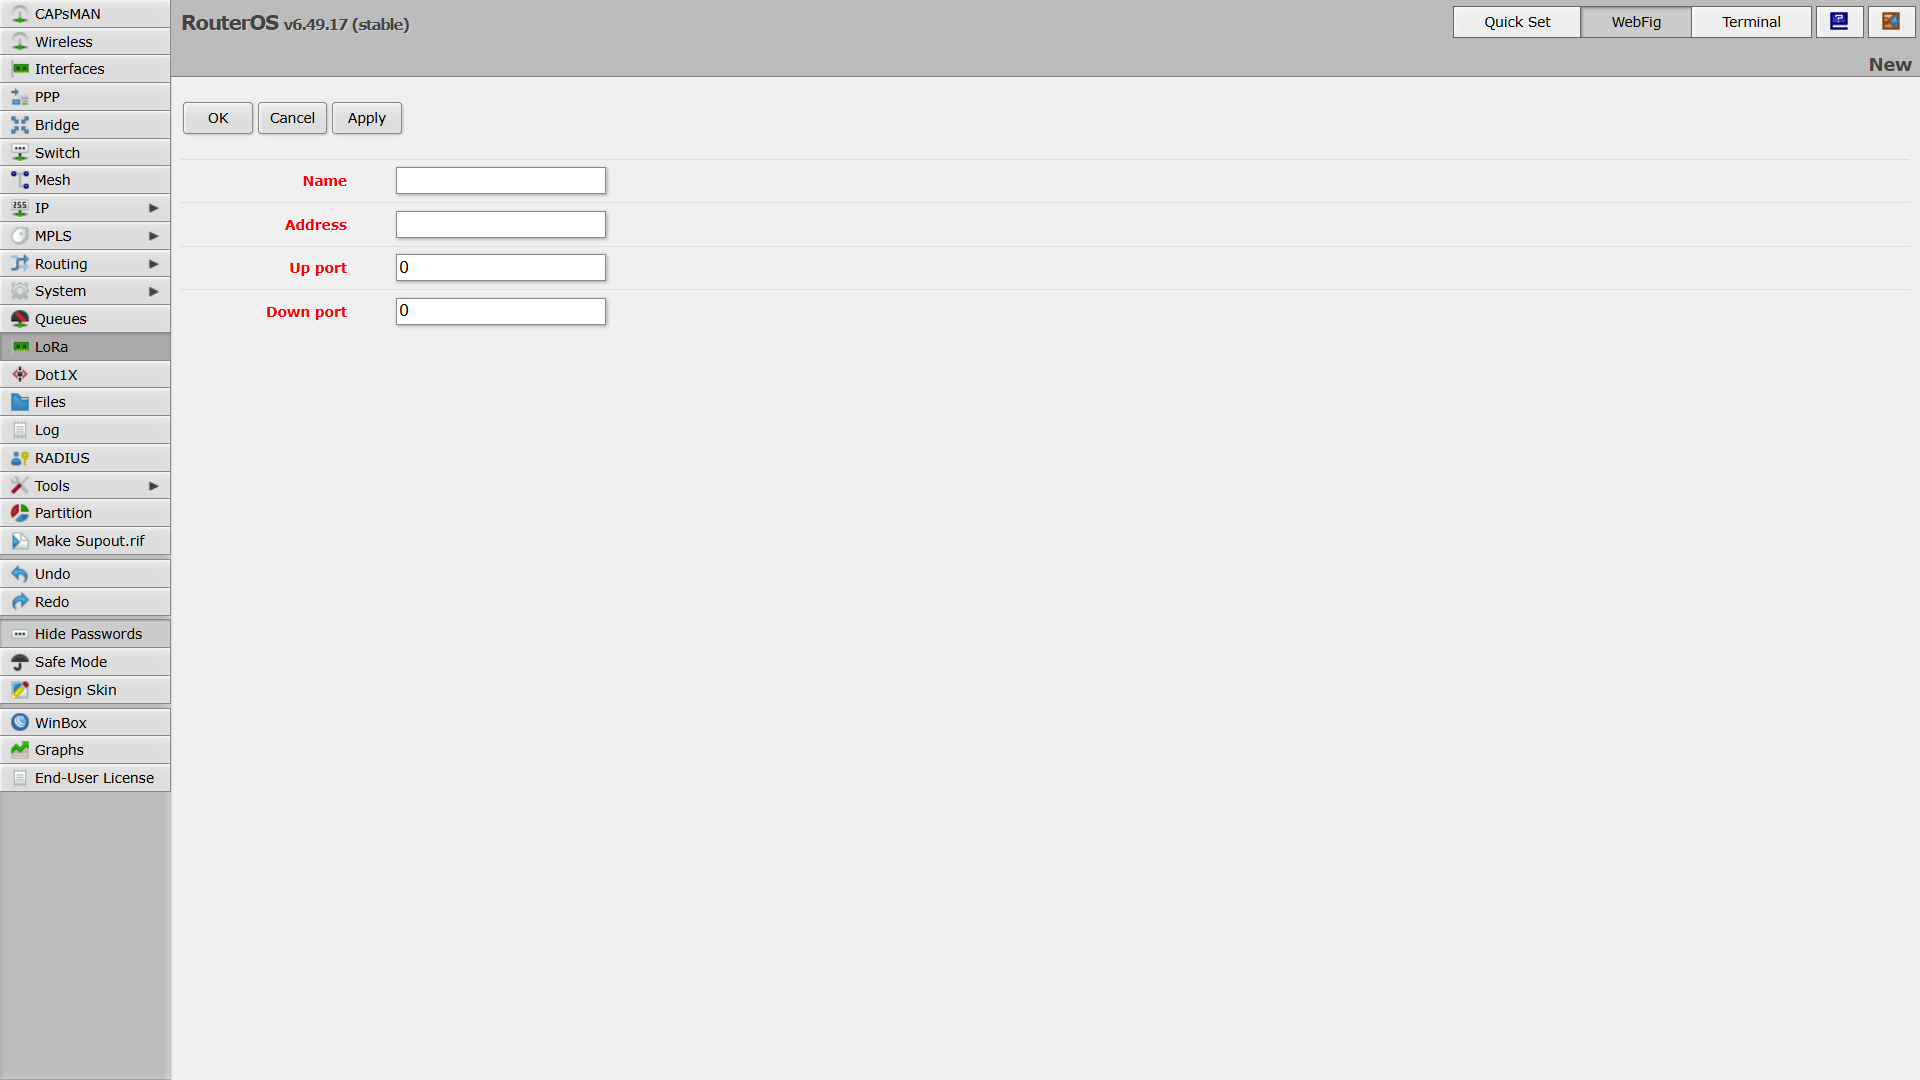
- Enter the server details:
- Name
- Address
- Up/Down ports
- Click Apply to save the server configuration.
3. Link LoRa Device to the New Server
- Go back to the Devices tab.
- Click on your LoRa card.
info
Here you can also find the Gateway ID
- Under the Network option, select Public.
- Click the plus (+) button next to Network Servers and select the newly created server.
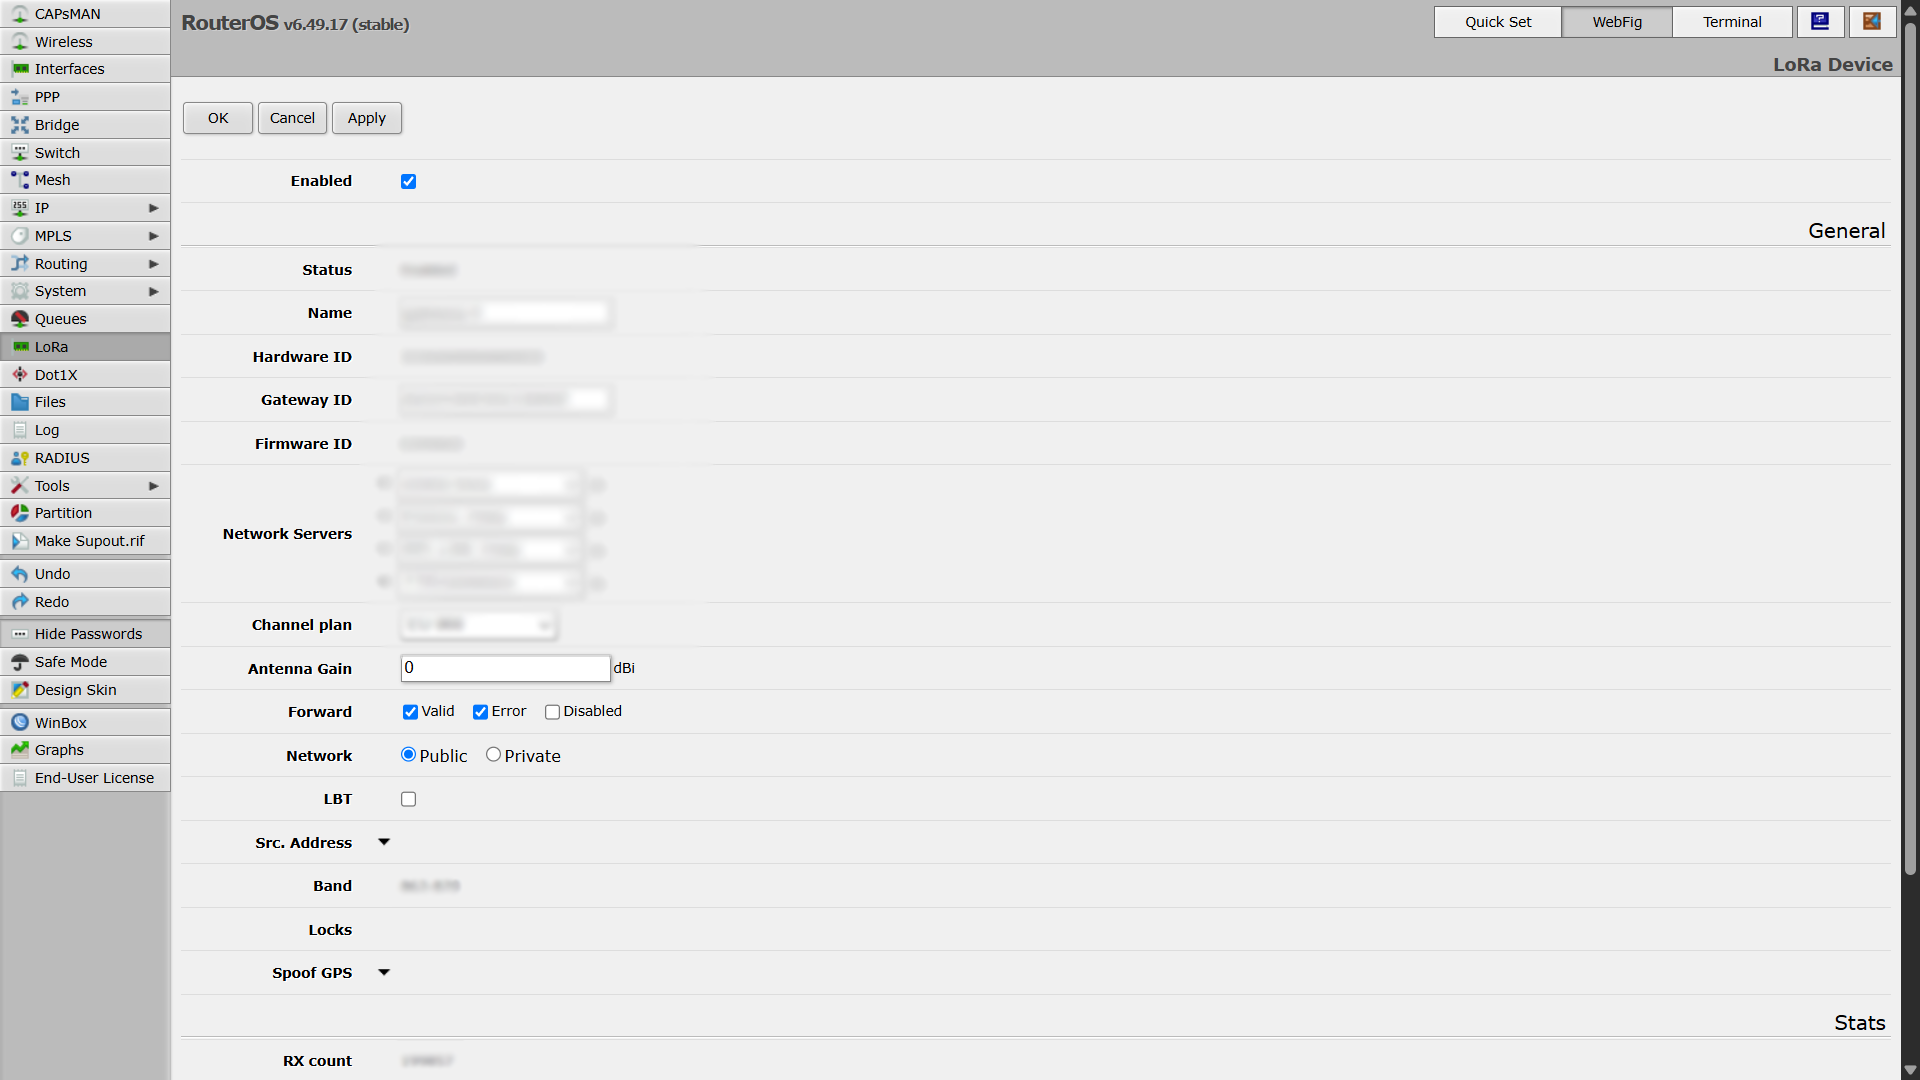
- Once configured, enable the LoRa card by selecting it and clicking Enabled.
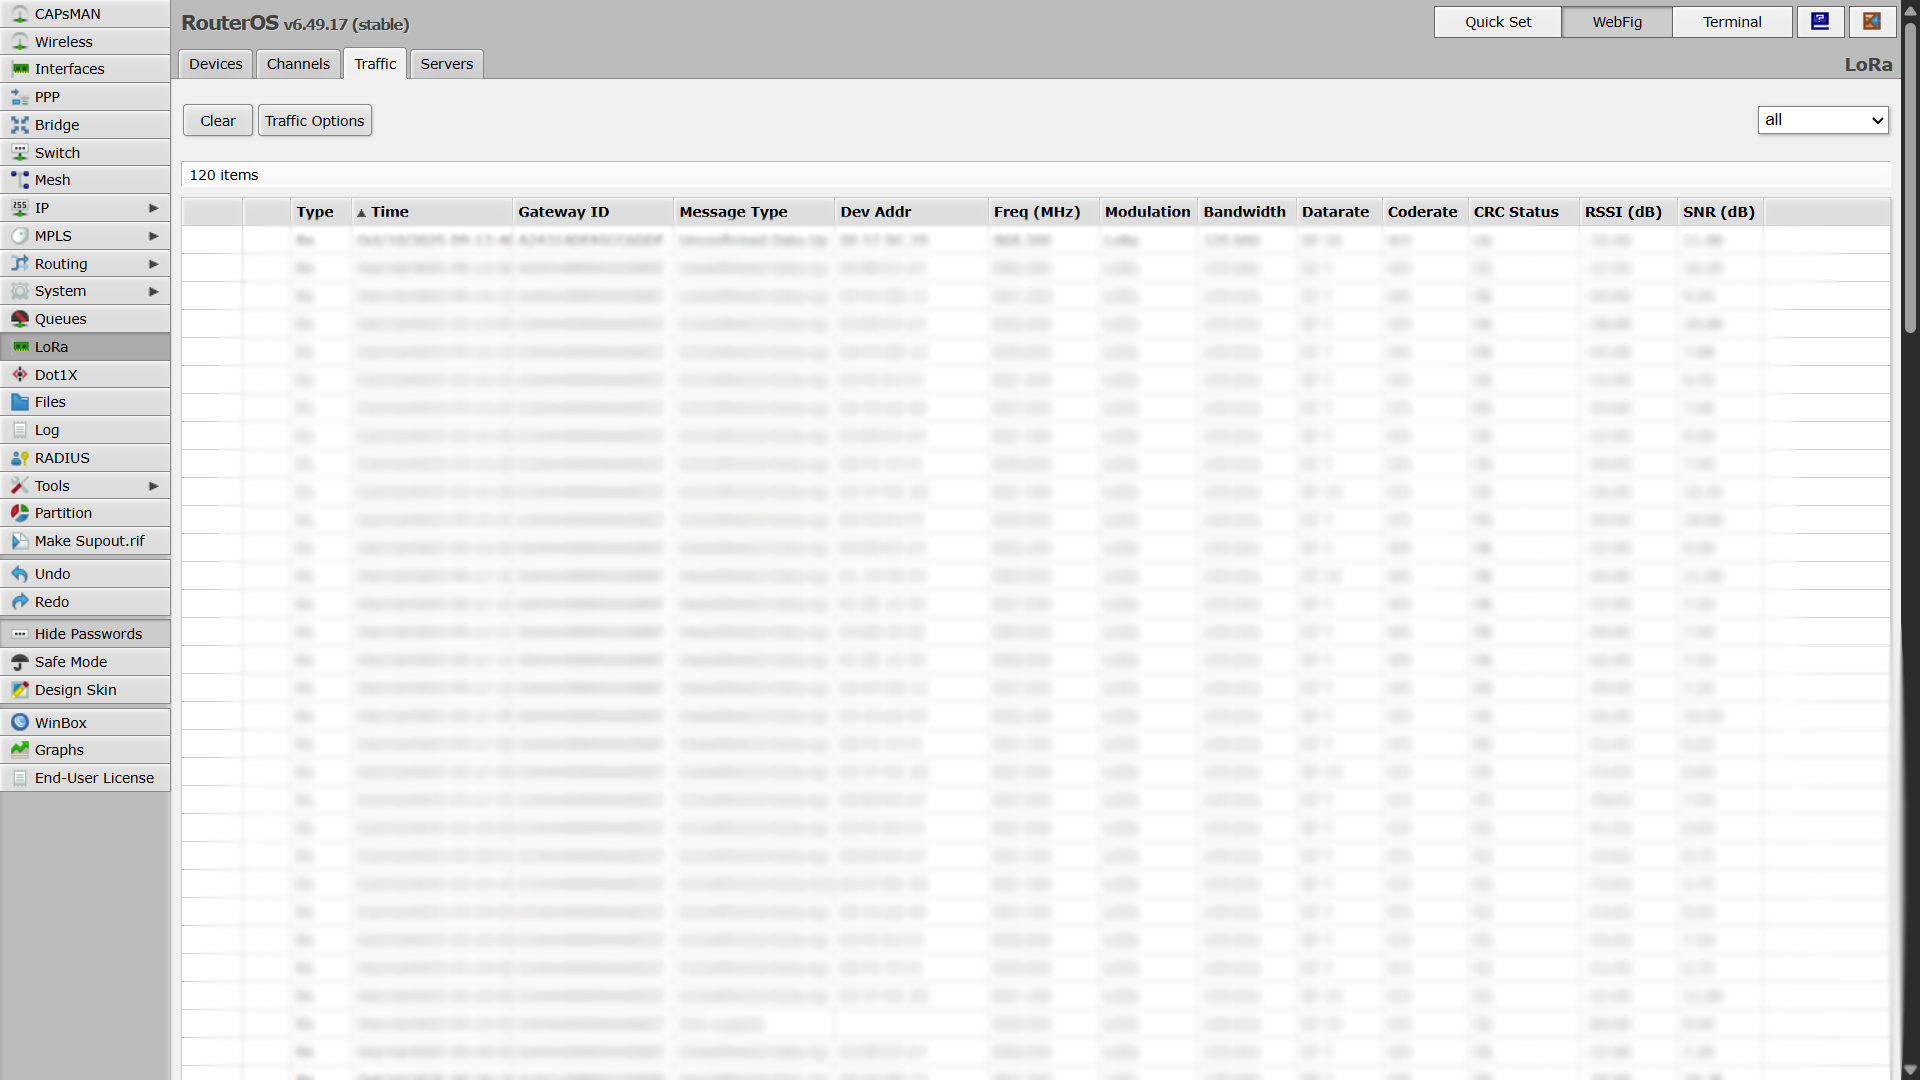
4. Verify Operation and Traffic
- While still in the LoRa section, open the Traffic tab.
- Check for incoming messages — this confirms that the LoRa card is active and receiving data.
- If no messages appear, try restarting your end device.
- For example, with a sensor (Sticker), simply remove and reinsert the power supply or battery.
✅ Your MikroTik LoRa interface is now configured and active.