HARDWARIO Cloud Quick Start Guide
Welcome to the HARDWARIO Cloud — the platform where your devices are managed and where your live data lands. Follow these steps to create an account, register your first device, and start working with its messages.
Step 1: Create a HARDWARIO Cloud Account
- Go to https://hardwario.cloud
- Click SIGN UP
- Create an account using a Google or Microsoft account, or an email and password (verify your email).
- Once verified, log in.
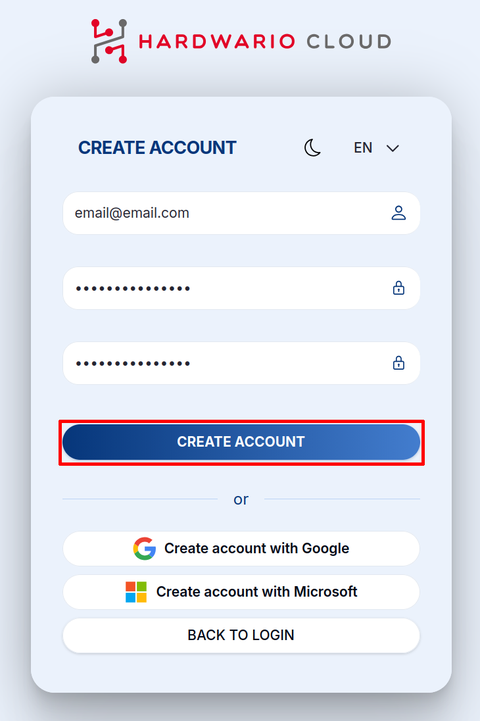
For improved security, we recommend authenticating via Google or Microsoft.
Step 2: Create Your Space
-
In the top-right corner, click SPACES → NEW SPACE.

-
Name your space (for example:
my-home,office-sensors,warehouse). Follow the Naming Conventions.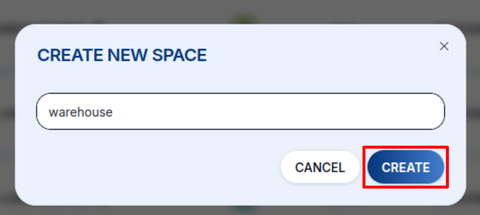
-
This is where your devices will live. See Spaces for details.
Step 3: Add a Device
-
Select your Space.
-
Go to DEVICES → +NEW DEVICE.
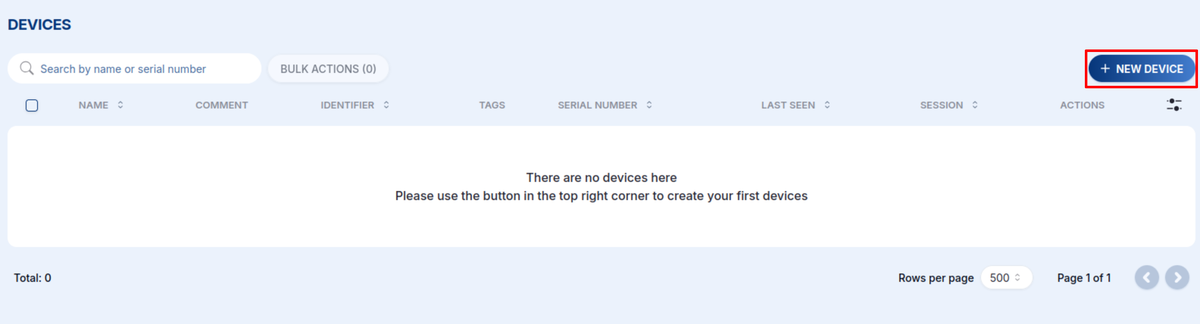
-
Provide the device information — either scan the QR code (
⛶ SCAN DEVICE) to fill everything in automatically, or enter the Name, HARDWARIO Serial Number (HSN), and Claim Token manually.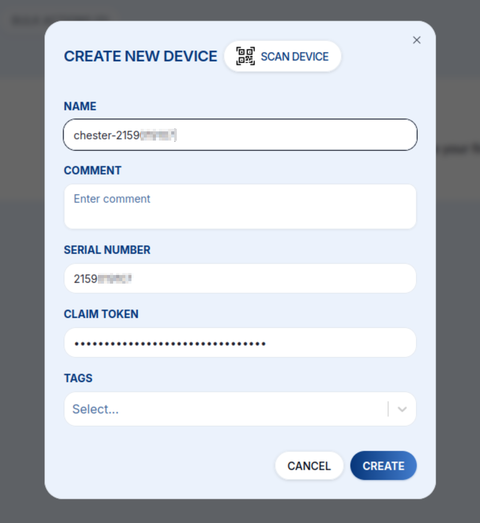
-
Save it — your device is now registered in the Cloud. See Devices for everything you can do next.
Step 4: See Your Data
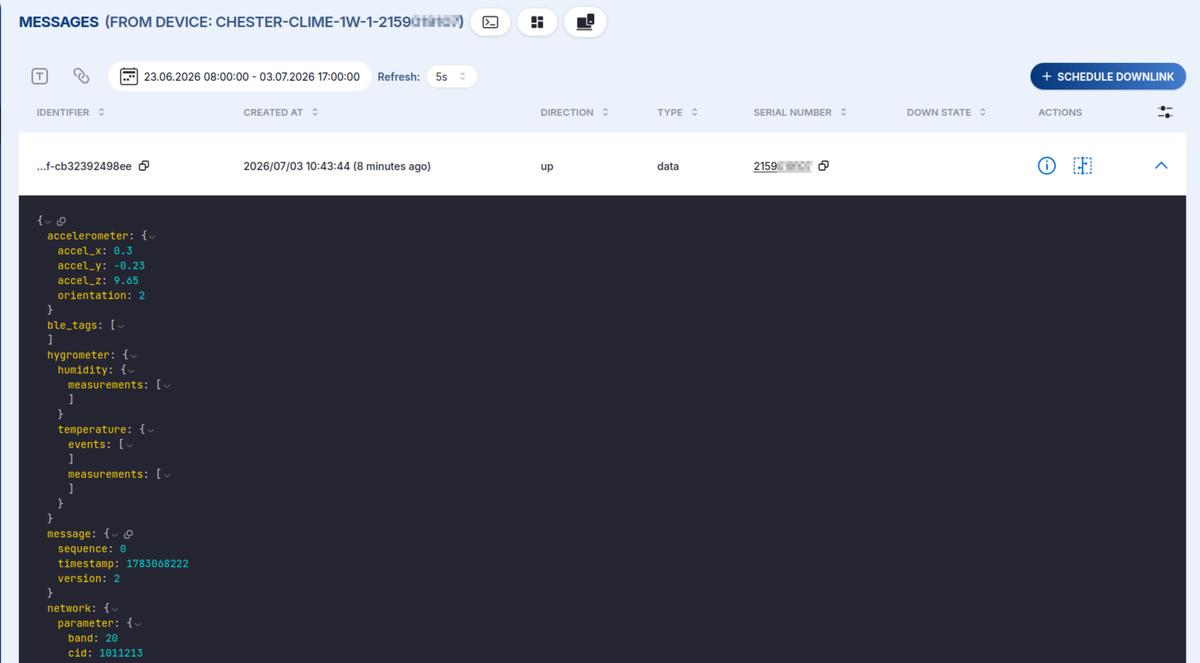
Once the device is powered up and connected, its uplinks appear in the Cloud.
- Read its incoming payloads under Messages.
- Group and filter related devices with Tags.
- Store per-device key–value information with Variables.
Step 5: Act on Your Devices
The Cloud is bidirectional — send configuration, data, or shell commands back with a Downlink, and push firmware over the air with FOTA.
Step 6: Integrate With Your Systems
Route your data out of the Cloud with Connectors (webhooks), or query it programmatically with the REST API.
Step 7: Manage Access
Invite teammates and control who can see and change your Space under Users.
Next Steps
Browse the full HARDWARIO Cloud documentation for details on every feature.