Tags
Tags are named labels with a color that you assign to both devices and connectors. They are the glue that connects devices to connectors: a message from a device is forwarded only to connectors that share at least one tag with that device.
Why Tags?
Tags let you route messages flexibly without hardcoding device IDs anywhere:
- One device → multiple connectors (assign multiple tags)
- Many devices → one connector (assign the same tag to all of them)
- Separate environments:
productiontag vsdevtag, each connected to a different endpoint
Creating a Tag
-
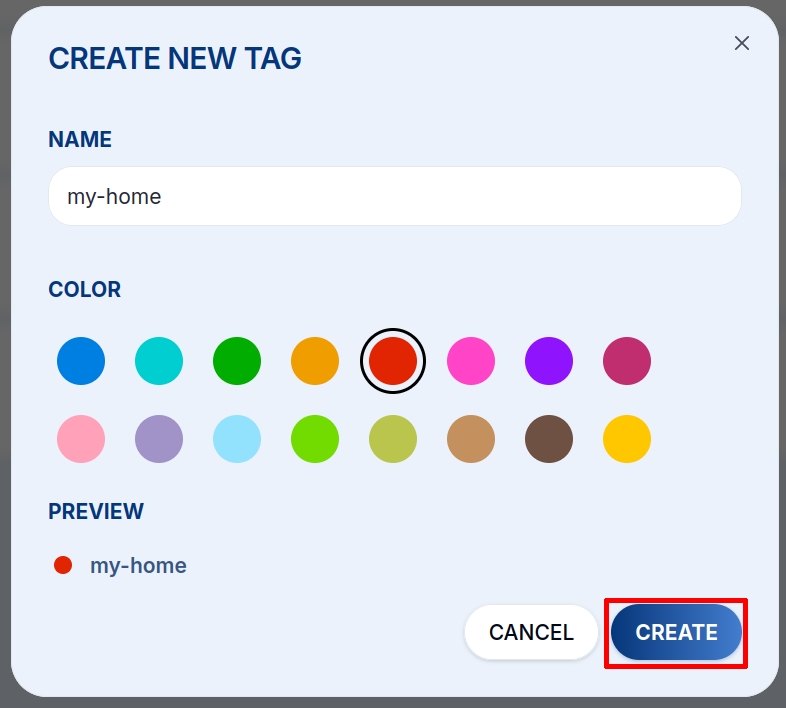
Open Tags in the left sidebar and click + NEW TAG.

-
Enter a name (following the naming conventions), pick a color for visual identification in device and connector views, then click CREATE.
Assigning Tags
Tags can be assigned in two places:
- Device detail → Tags tab: assign tags to a device
- Connector settings: select which tags the connector listens to
A device with no tags assigned will not trigger any connector.
Access Type
Tags have an access_type field:
| Value | Description |
|---|---|
write | Full access. Tag can be used for both reading messages and sending downlinks |
read | Read-only. Tag can receive messages but cannot be used for downlinks |
Example Setup
Tag: "temperature-sensors"

  Device: chester-floor-1  ──[temperature-sensors]──▶  Connector: my-backend
  Device: chester-floor-2  ──[temperature-sensors]──▶  Connector: my-backend
  Device: chester-floor-3  ──[temperature-sensors]──▶  Connector: my-backend
All three devices share the same tag, so all their messages are forwarded to my-backend via the connector.