Adding Devices
In this guide, you will learn how to create a new device in ThingsBoard and manage its details. Once created, the device will appear in your list and provide access to telemetry data.
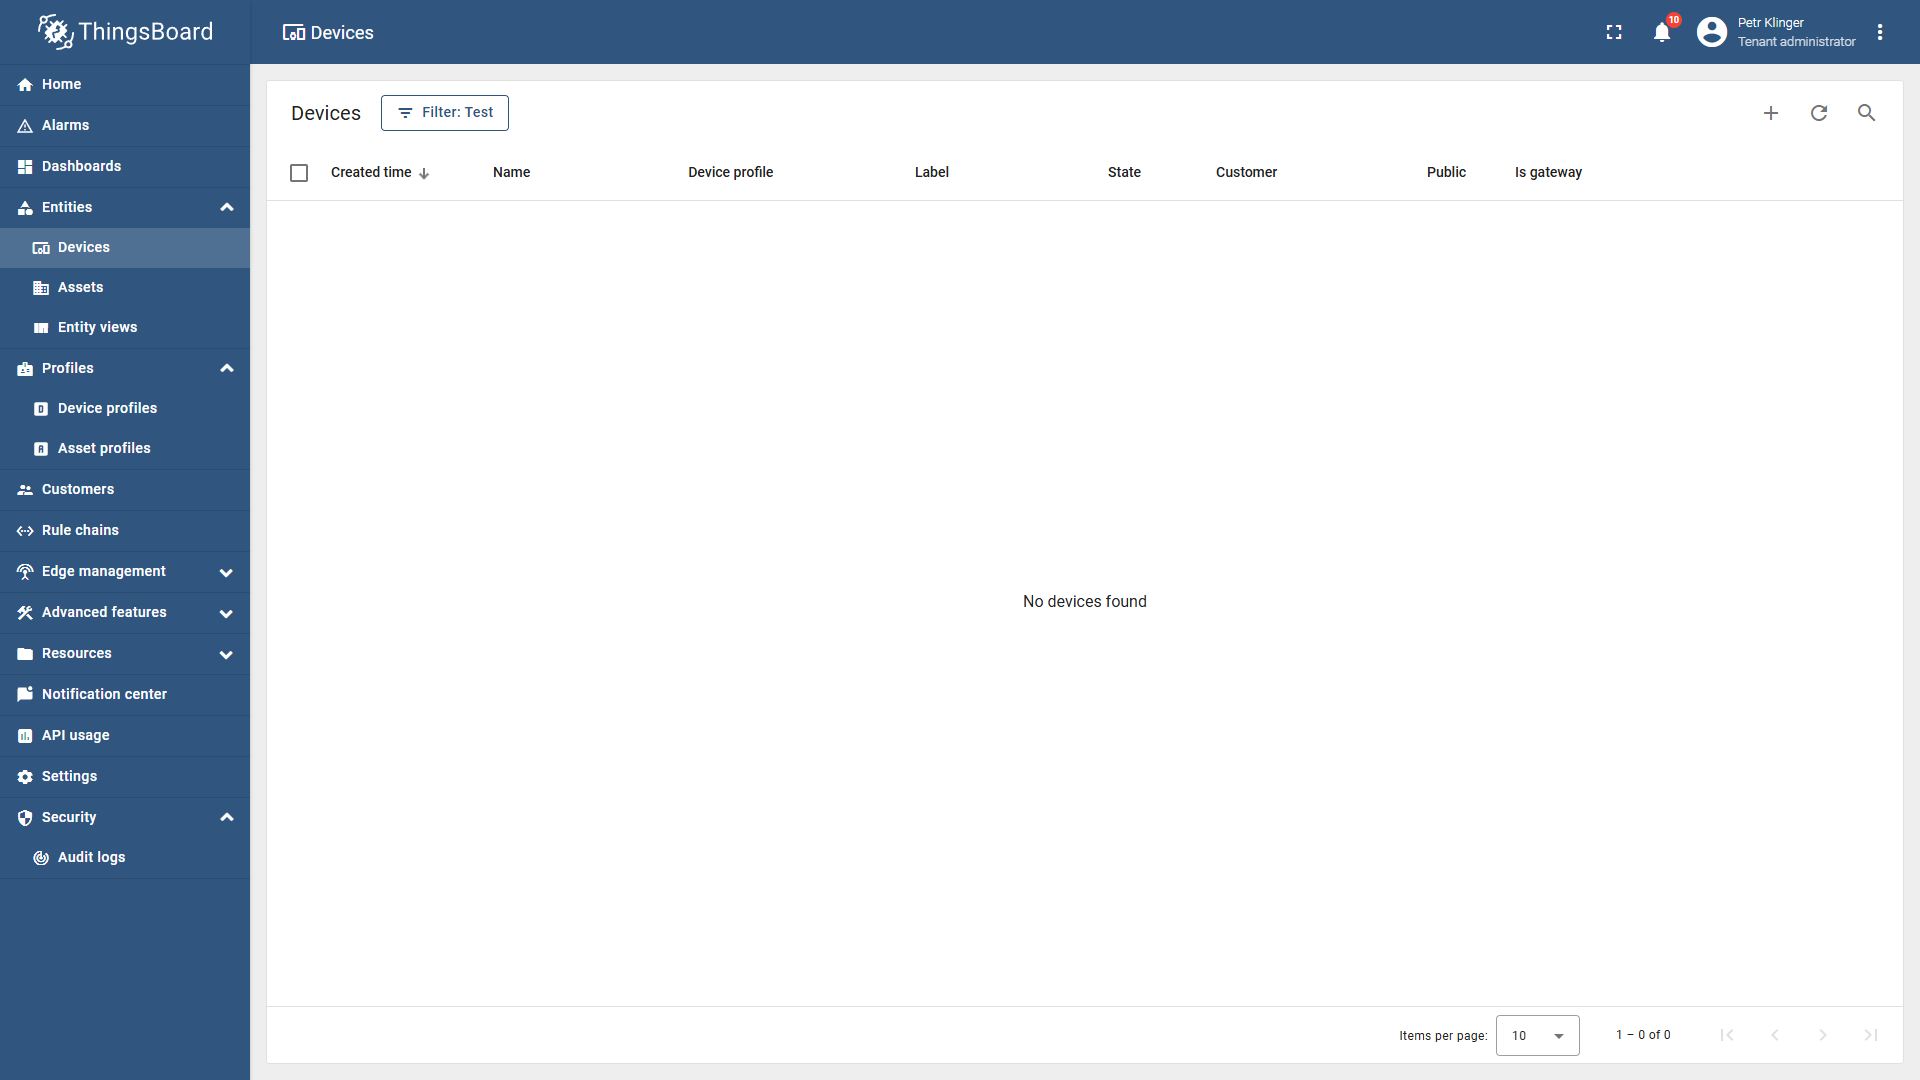
Step 1: Navigate to Devices
In the left navigation bar, click on Entities, then select Devices.
In the top-right corner, click the ➕ (plus) button and choose Add Device.
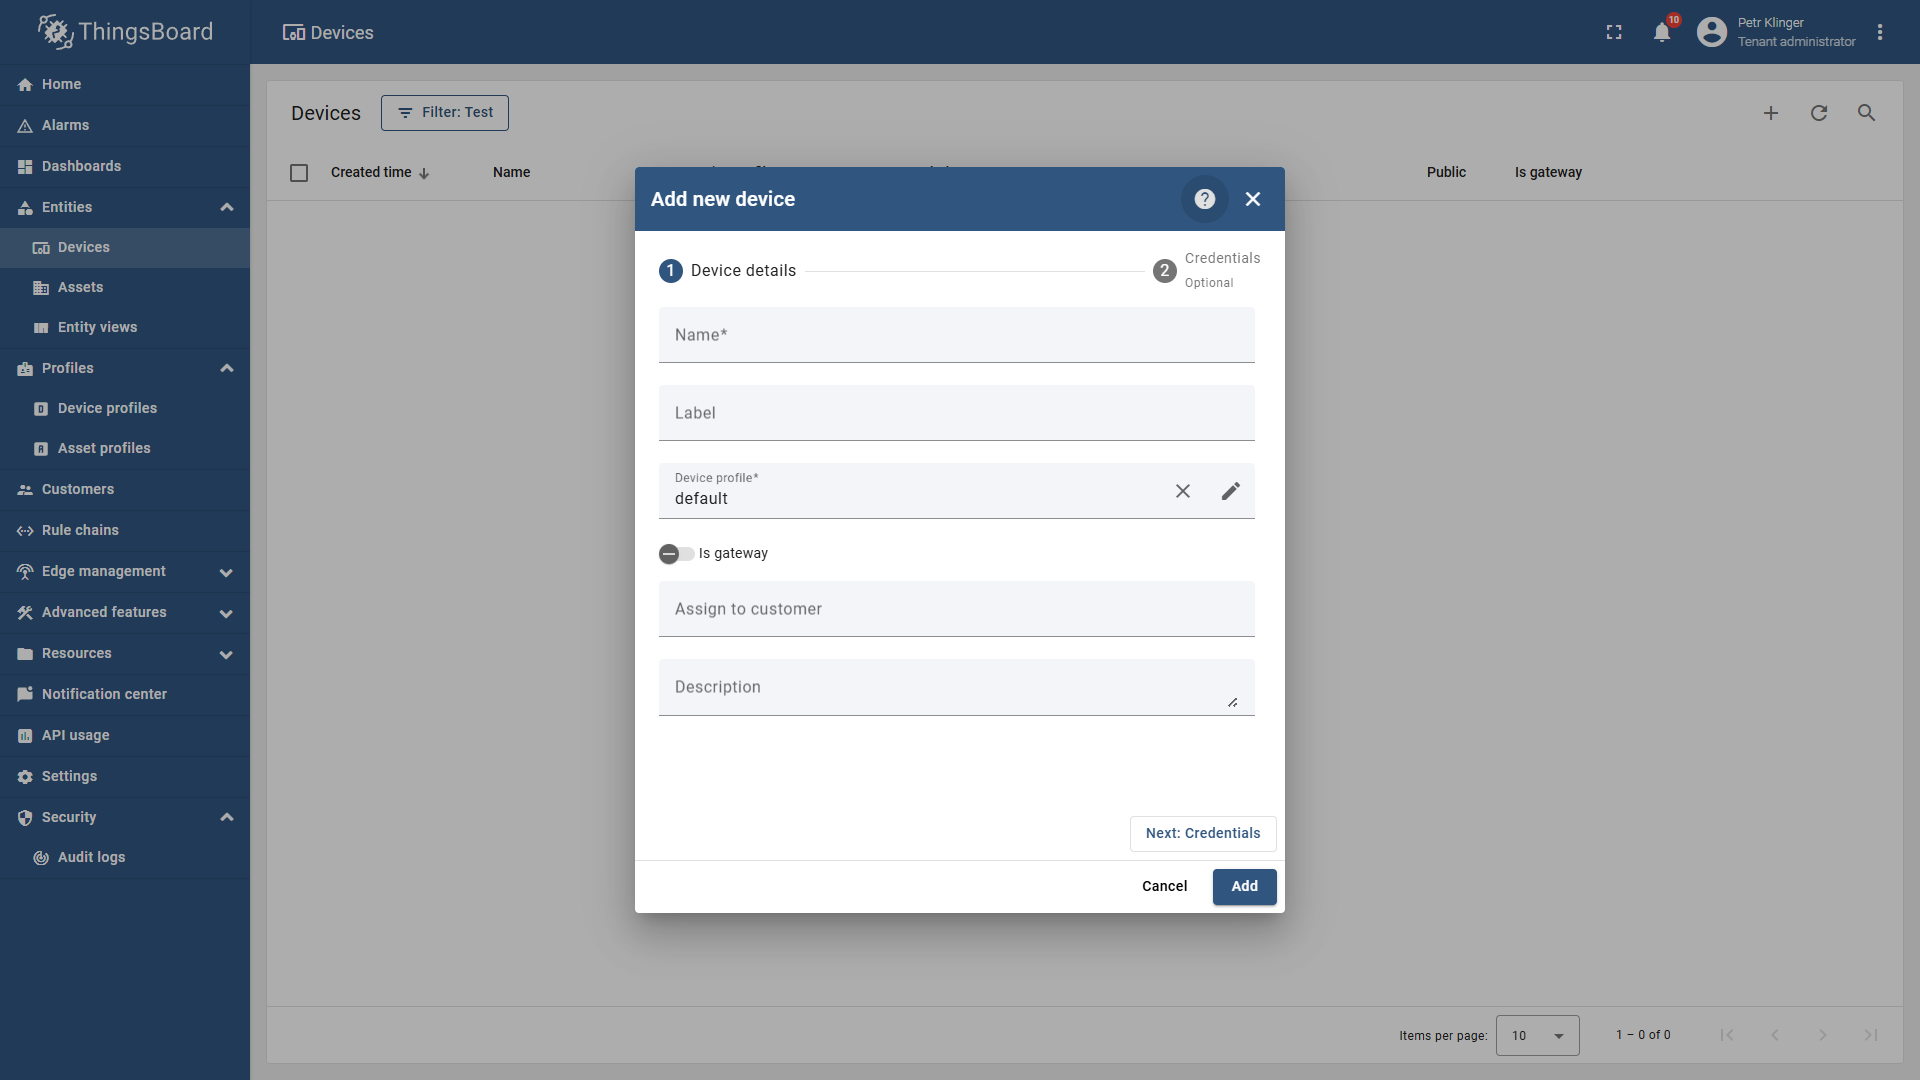
Step 2: Fill in Device Details
A window will appear where you can enter:
- Name
- Label
- Description
- and other optional fields.
After filling in the details, click Next.
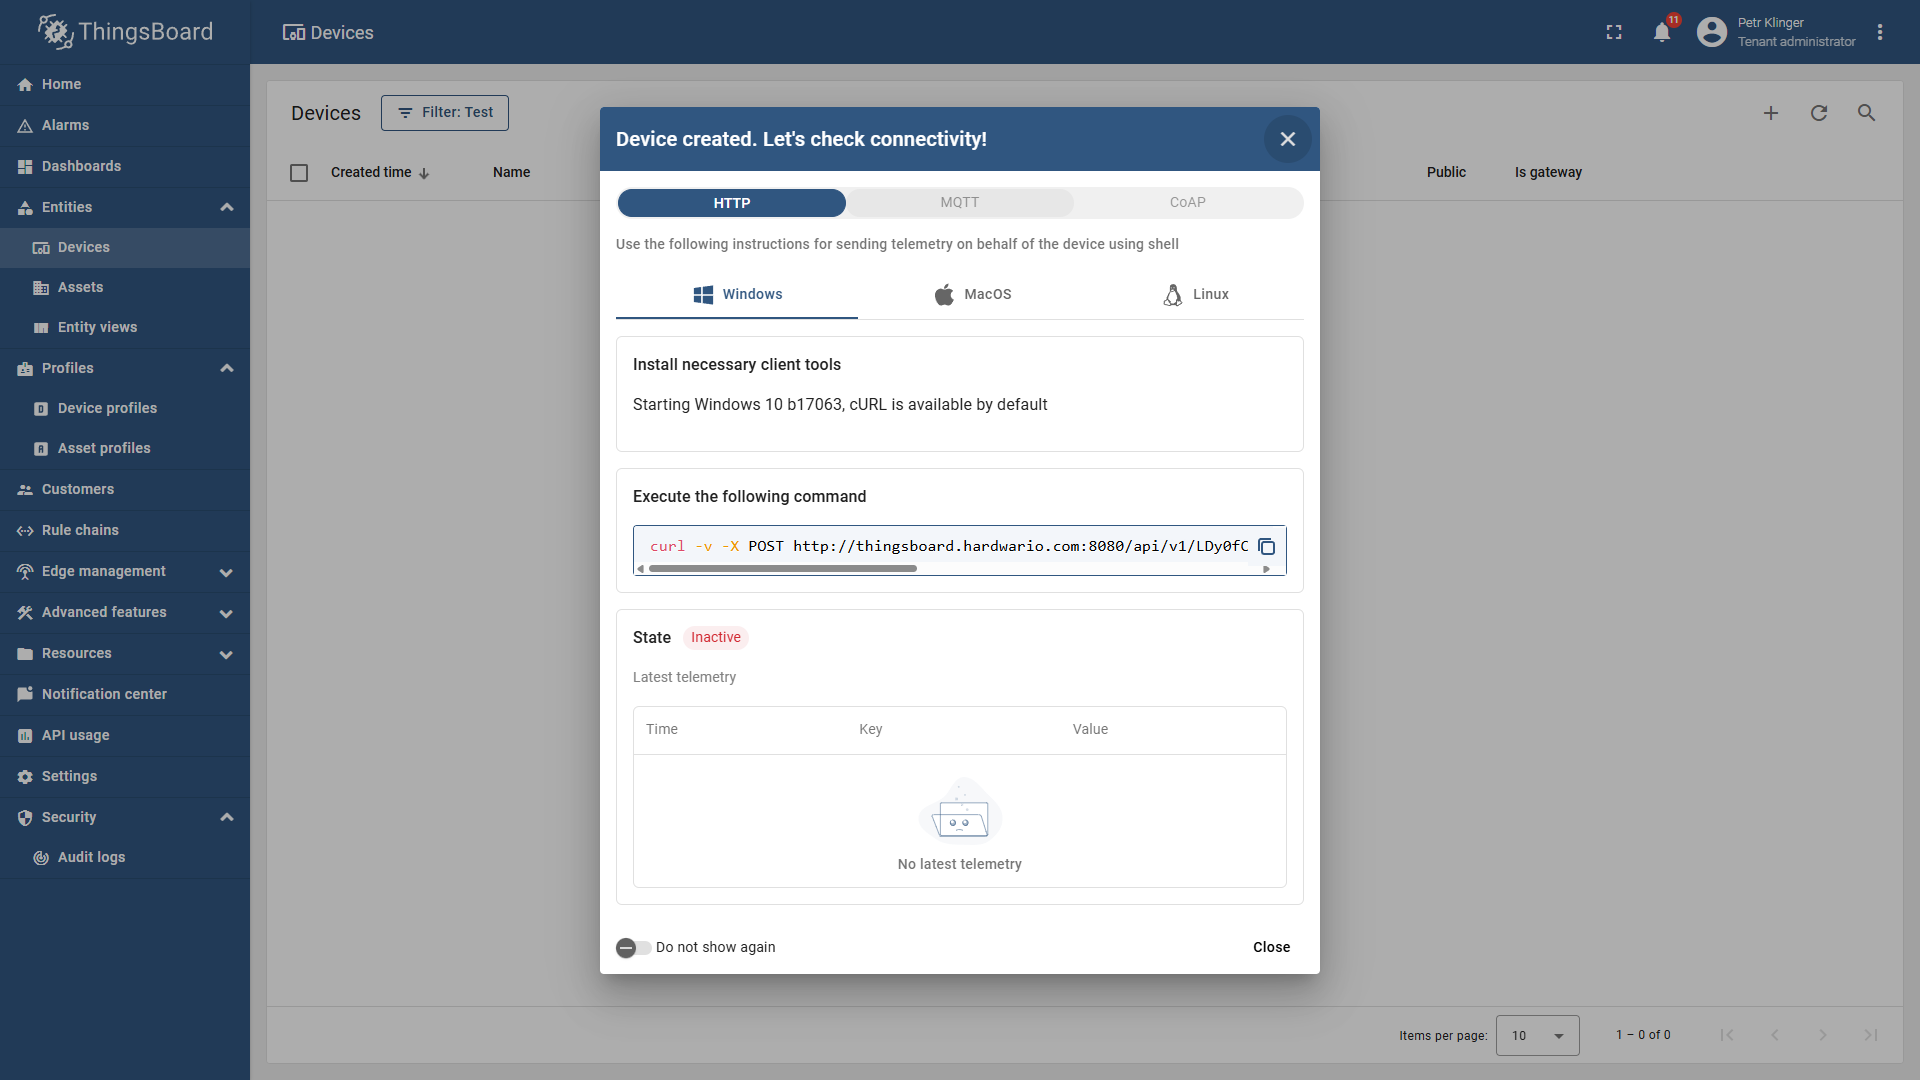
Step 3: Configure Connectivity
Another window will appear for connectivity settings.
If you don’t need to change anything, simply press Enter on your keyboard or close the dialog.
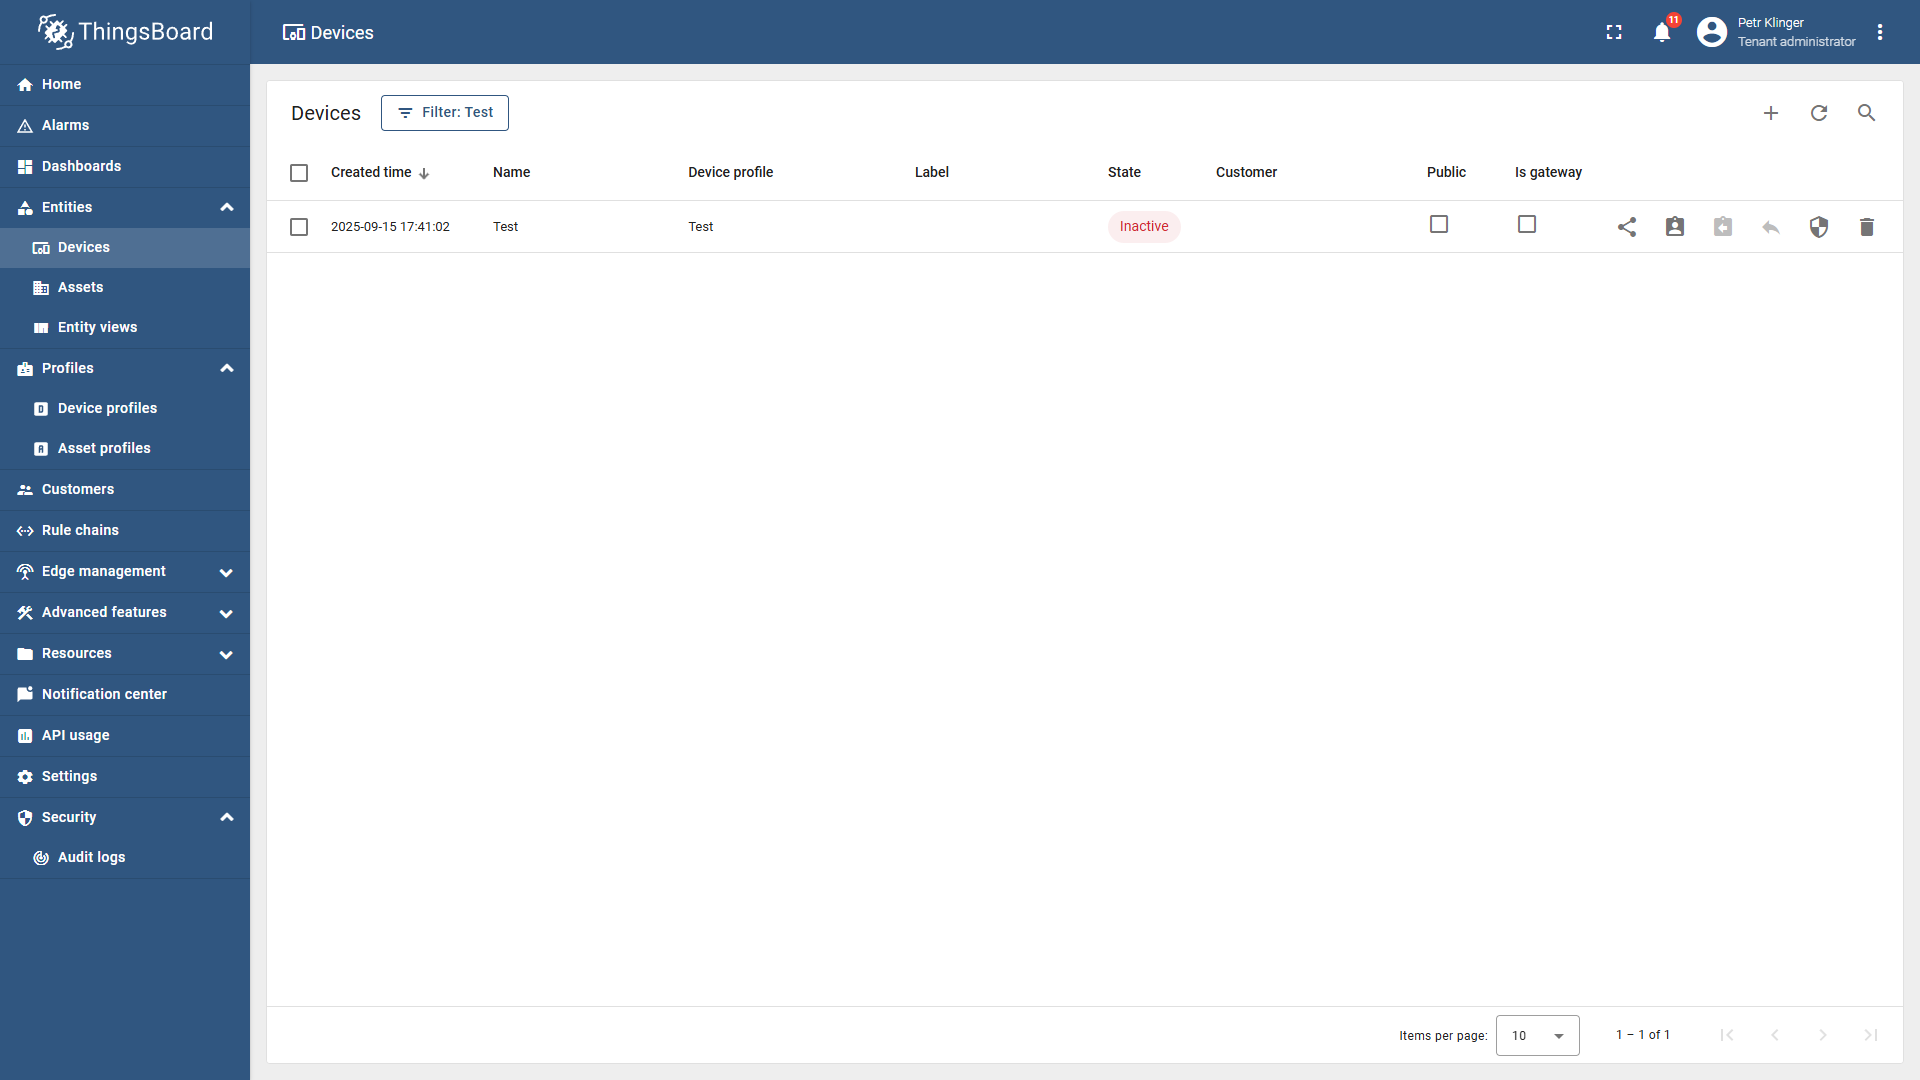
Step 4: Device Created
Your new device is now created and added to the list.
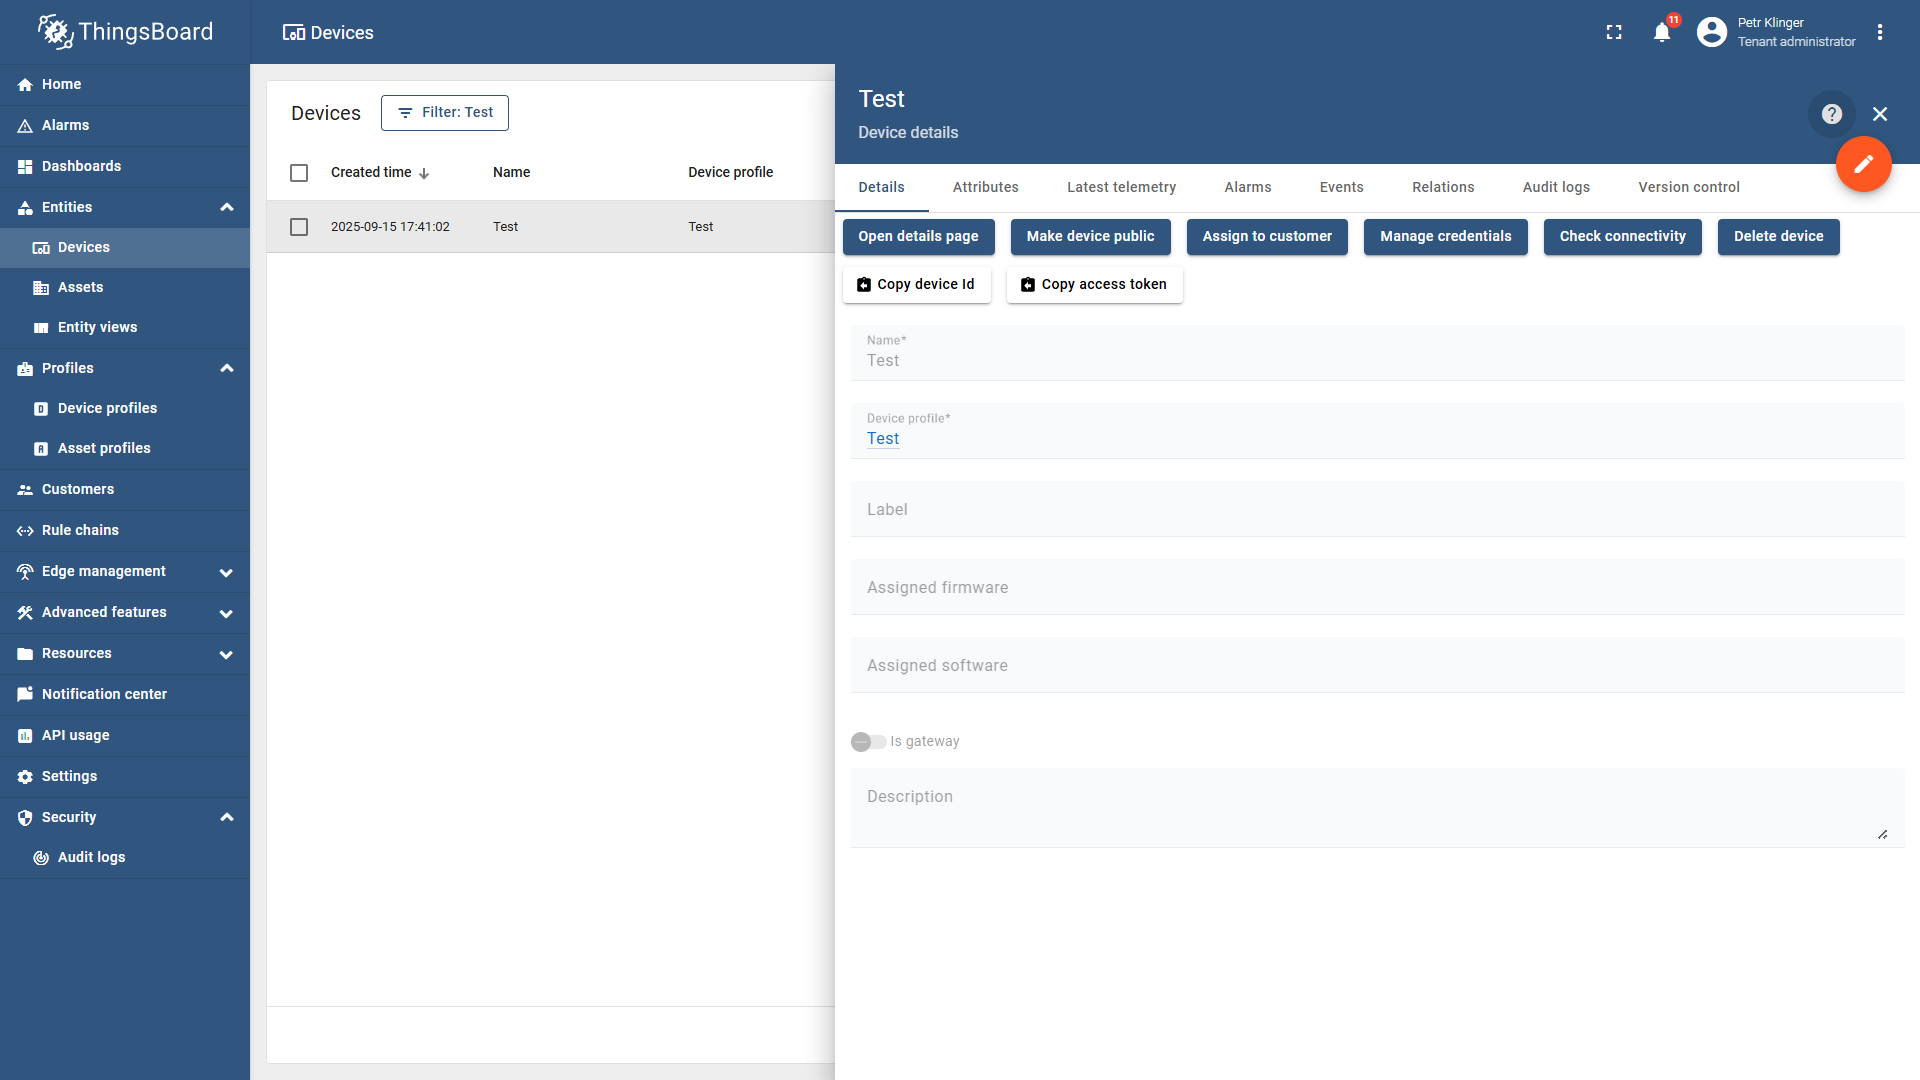
Step 5: View Device Information
By clicking on the device, you can see:
- Details
- Attributes
- Latest Telemetry
- and more.
Video Tutorial
If you need further assistance or a visual demonstration of the process described in this guide, consult the Video Guide.