RAK7289V2 WisGate Edge Pro
The RAK7289V2 WisGate Edge Pro is an industrial-grade outdoor LoRaWAN® gateway. Designed for high reliability, it is housed in an IP67 enclosure, making it suitable for harsh environments and tower deployments.
It runs on WisGateOS 2 and supports multi-backhaul connectivity (Ethernet, Wi-Fi, Cellular) to ensure constant uptime for critical IoT networks.

Key Features
- Industrial Design: IP67 waterproof aluminum enclosure.
- Channels: 8 or 16 Channels (depending on the model).
- Multi-Backhaul: Ethernet, Wi-Fi, and LTE Cellular (with dual SIM support on some models).
- GPS: Integrated GPS for precise time synchronization and location.
- Power: Powered via PoE (Power over Ethernet) for simplified cabling.
- Management: Local Web UI, SSH, and WisDM remote management.
Technical Specifications
| Feature | Specification |
|---|---|
| Model | RAK7289V2 |
| LoRa Channels | 8 or 16 Channels |
| Frequency | EU868 (supports other regions) |
| Power Supply | PoE (802.3af/at) (48V) |
| Power Consumption | Max 12 W |
| Connectivity | Ethernet, Wi-Fi, LTE Cat 4 |
| Antennas | External N-Type connectors (LoRa, LTE, GPS) |
| Operating Temp. | -40°C to +65°C |
| Ingress Protection | IP67 |
Quick Start Guide
1. Hardware Setup
- Antennas: Connect the LoRa, LTE, and GPS antennas before powering on the device to avoid damage.
- SIM Card: If using cellular, insert the SIM card into the slot inside the waterproof cap.
- Mounting: Use the included kit to mount the gateway on a pole or wall.
2. Power On
- Connect an Ethernet cable from the PoE injector (included) to the ETH port on the gateway.
- The device will boot up.
3. Accessing the Gateway
You can connect to the gateway's local Web UI using one of two methods:
WiFi AP Mode (Default)
- Connect your PC to the Wi-Fi SSID:
RAK7289CV2_XXXX(where XXXX are the last bytes of the MAC address). - No password is required.
- Open a web browser and go to
192.168.230.1.
Ethernet Mode
- Connect the gateway's ETH port directly to your PC.
- Set your PC to a static IP (e.g.,
169.254.15.100) to match the gateway's fallback IP (169.254.15.1).
4. Setting the Mandatory Password
When you first access the gateway, you are required to set a password for the root user. The password must meet these criteria:
- At least 12 characters long
- Includes at least one special character
- Includes at least one number
- Includes at least one Latin letter
Once the password is set, you will be redirected to the Dashboard, where you will define your country and region. Copy the 16-character Gateway EUI displayed there – you will need it for network server registration.
5. Internet Connectivity
Before the gateway can communicate with a network server, it needs an internet connection. Navigate to Network > WAN:
- Ethernet: Plug the ETH port into your router; it uses DHCP by default.
- WiFi: Go to Wi-Fi, enable the interface, and scan for your local network.
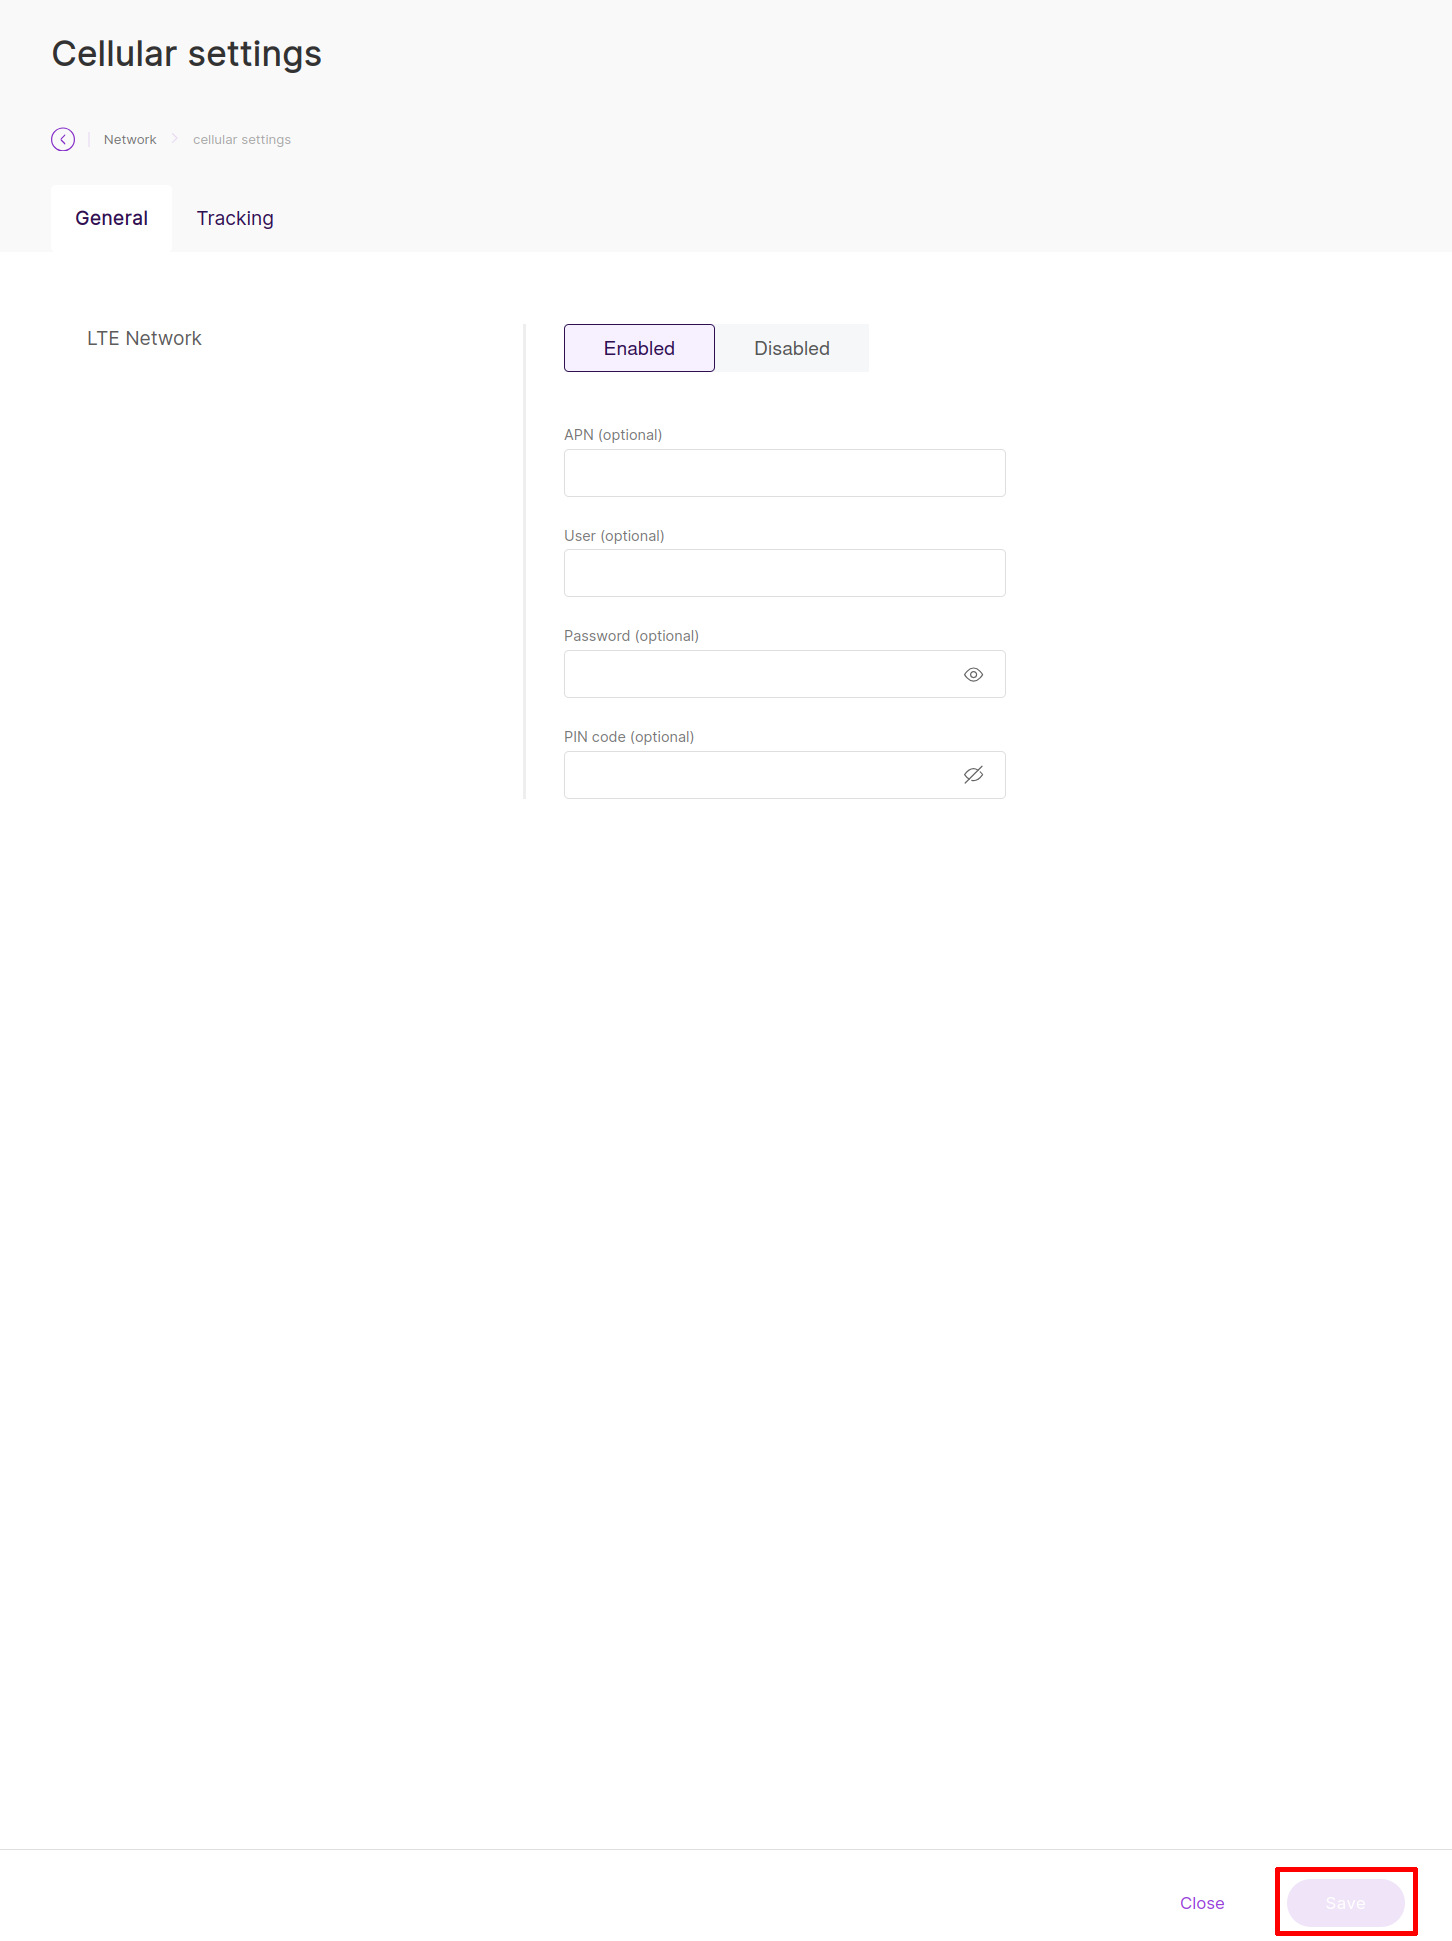
- Cellular (LTE Models): If using a SIM card, configure the APN under Cellular.
If your SIM card requires a PIN code, you need to configure it in the settings. Navigate to Network → WAN → Cellular → General, enable LTE Network, enter your SIM card PIN into the PIN code field, and click Save.
If you are not using a SIM card, disable the cellular interface to prevent SIM_ABSENT log spam.
Configuring Work Modes
The gateway supports multiple LoRaWAN work modes. Navigate to LoRa > Configuration to select your preferred mode:
Basics Station (Recommended for TTS)
Select Basics Station to connect to The Things Stack:
| Setting | Value |
|---|---|
| Basics Station Mode | LNS Server |
| Server URL | wss://hardwario-com.eu1.cloud.thethings.industries (Port 8887) |
| Trust (CA Certificate) | Upload the ISRG Root X1 .pem file |
| Client Token | Paste your TTS API Key |
Other Available Work Modes
- Packet Forwarder: Used for legacy Semtech UDP or ChirpStack MQTT connections.
- Built-in Network Server: Allows the gateway to act as its own standalone LNS (ChirpStack).
LoRaWAN Network Options
For information about supported LoRaWAN network server platforms, see LoRaWAN Network Options