End Devices Configuration Guide
This tutorial guides you through the process of creating device profiles and adding end devices in The Things Stack.
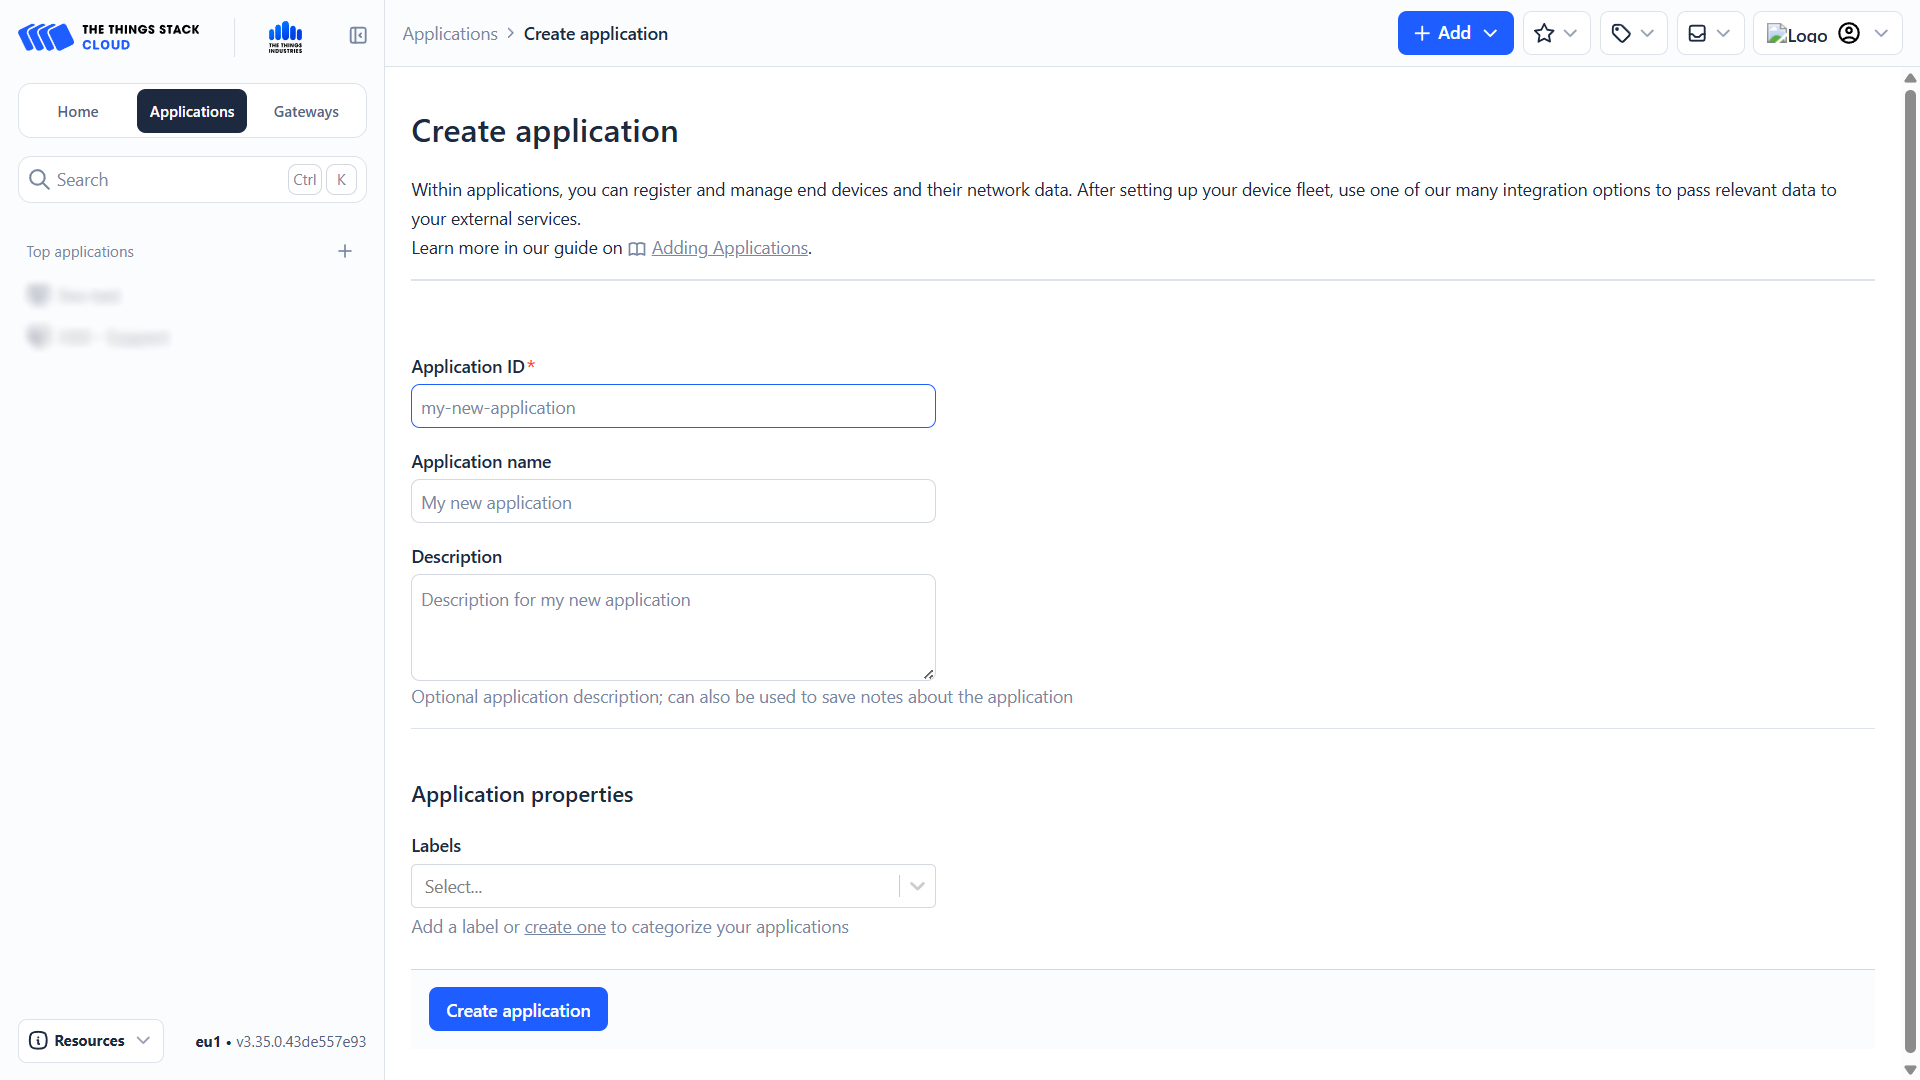
Creating an Application
- On the Home tab, click Create application.
- If you are on a different tab, click the blue + Add button in the top right and choose Add application.

-
You will be taken to the application creation page. Fill in the following fields:
- Application ID (app id)
- Application Name (app name)
- (Optional) Description
- (Optional) Label — It is recommended to use the same label for the application, end devices, and gateways.
-
Click the blue Create application button.
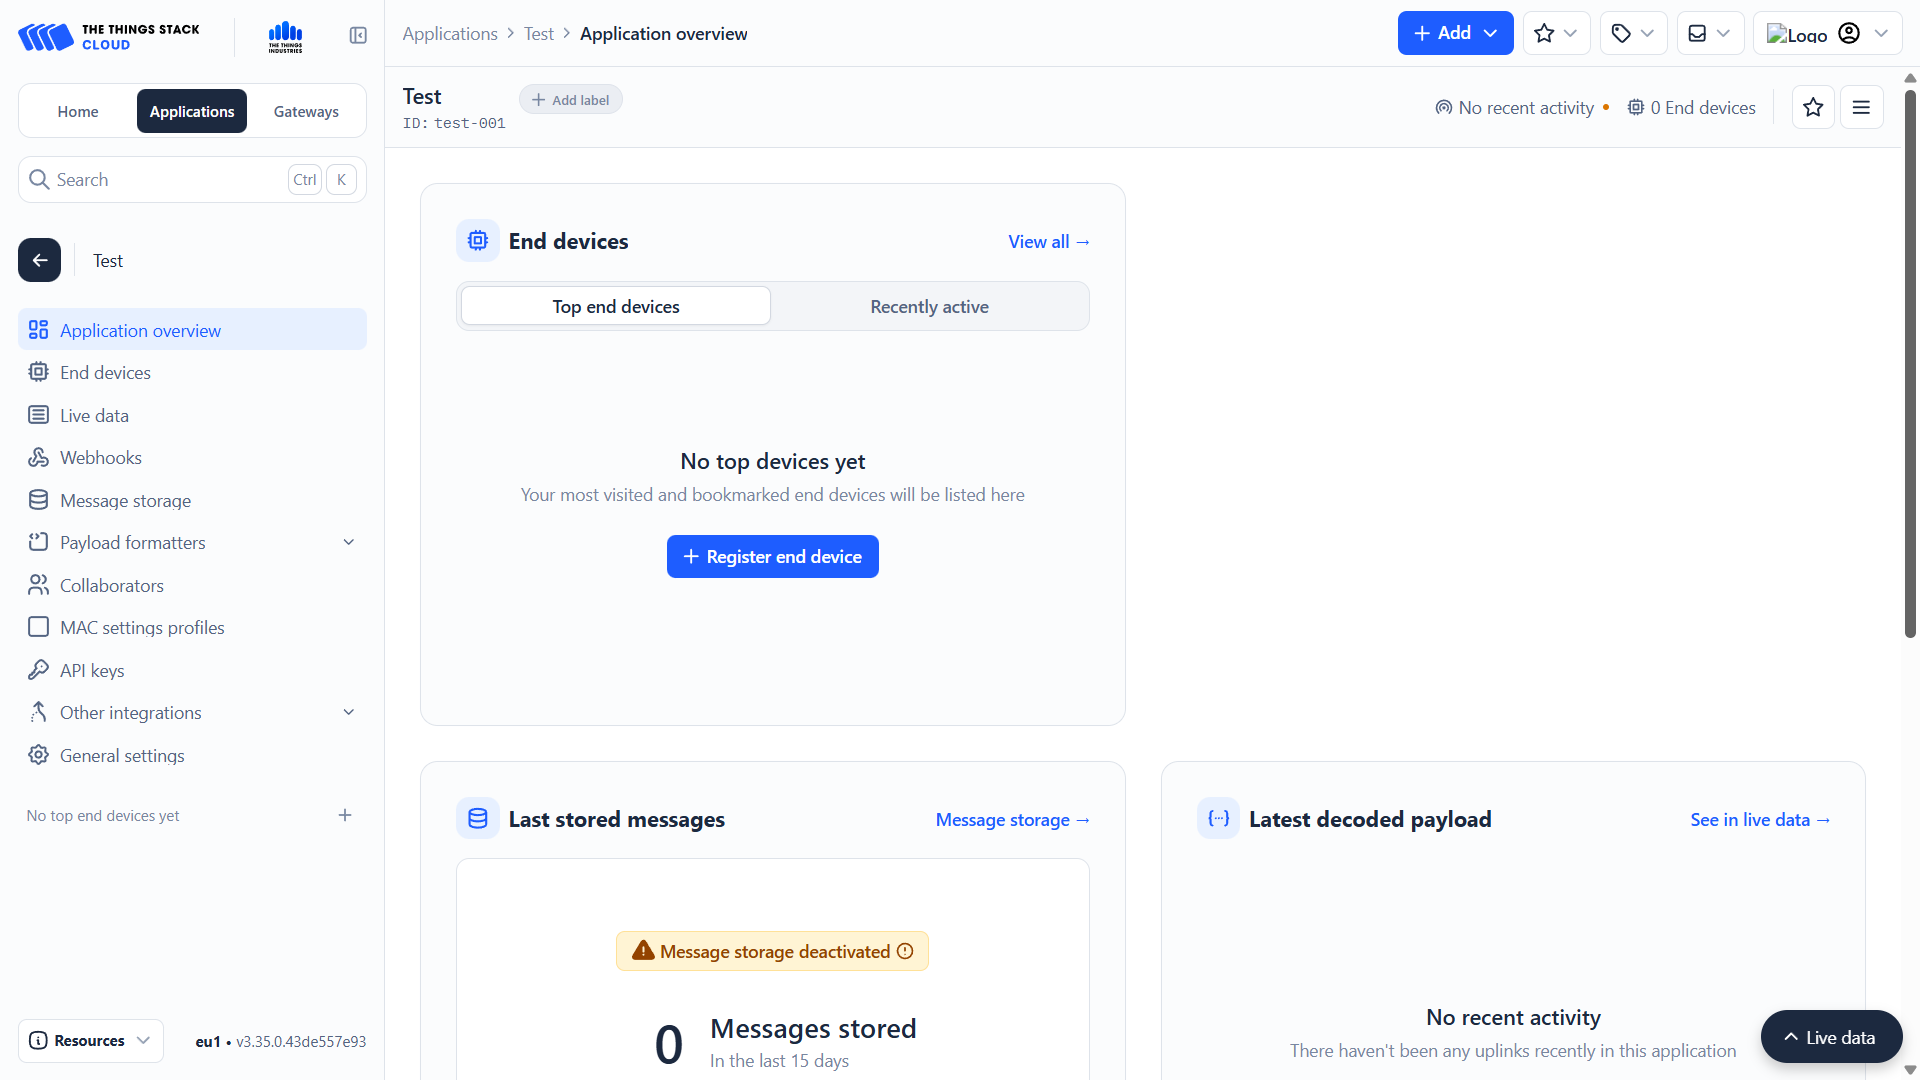
Registering End Devices
In The Things Stack, end devices can be registered in two ways:
- Using a predefined device from the LoRaWAN Device Repository
- Manually, by entering all device parameters
Predefined Devices
- Inside the application, click the blue + Register end device button.
- Alternatively, click + Add and choose Register end device in an application.
-
Select Select the end device in the LoRaWAN Device Repository.
-
Search for the manufacturer and model of your device and select it.
- Using a predefined device automatically fills in most technical parameters.
This method is recommended whenever the device is available in the LoRaWAN Device Repository, as it minimizes configuration errors.
-
Fill in the required identifiers:
- JoinEUI (AppEUI)
- Available in our documentation or in the manufacturer’s documents.
- DevEUI
- Unique for each device, printed on the device itself.
- AppKey
- Available in our documentation or the manufacturer’s documents.
- Device ID
- Your chosen identifier for the device.
- JoinEUI (AppEUI)
-
(Optional) Add the same label you used for the application and gateway.
-
Click the blue Register end device button.
Manual Configuration
This method is used when the device is not available in the LoRaWAN Device Repository or when full manual control over device parameters is required.
-
Inside the application, click + Register end device.
-
Select Enter end device specifics manually.
End Device Type
-
Configure the basic LoRaWAN parameters:
- Frequency plan
- Select the regional frequency plan (e.g. Europe 863–870 MHz).
- LoRaWAN version
- Select the LoRaWAN specification supported by the device
(commonly LoRaWAN Specification 1.0.4).
- Select the LoRaWAN specification supported by the device
- Regional Parameters version
- Select the matching regional parameters version
(e.g. RP002 Regional Parameters 1.0.4).
- Select the matching regional parameters version
- Frequency plan
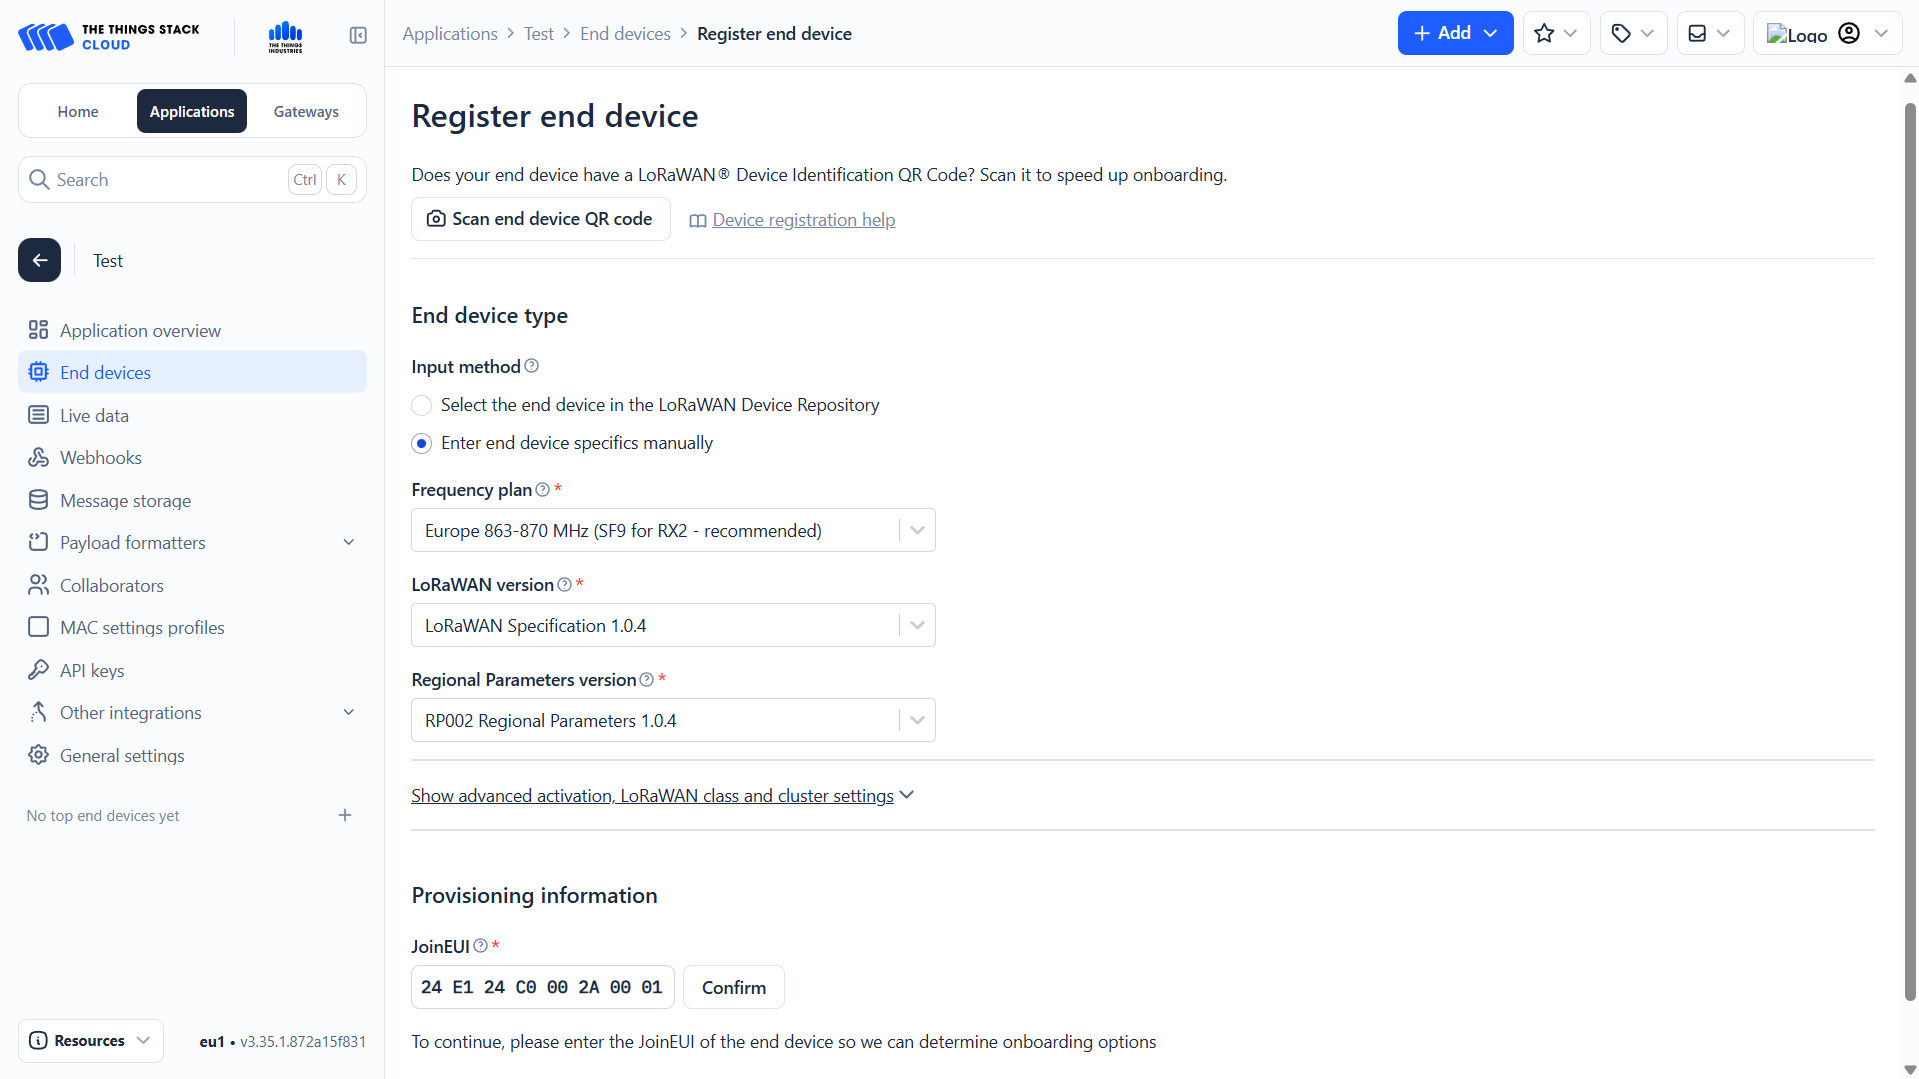
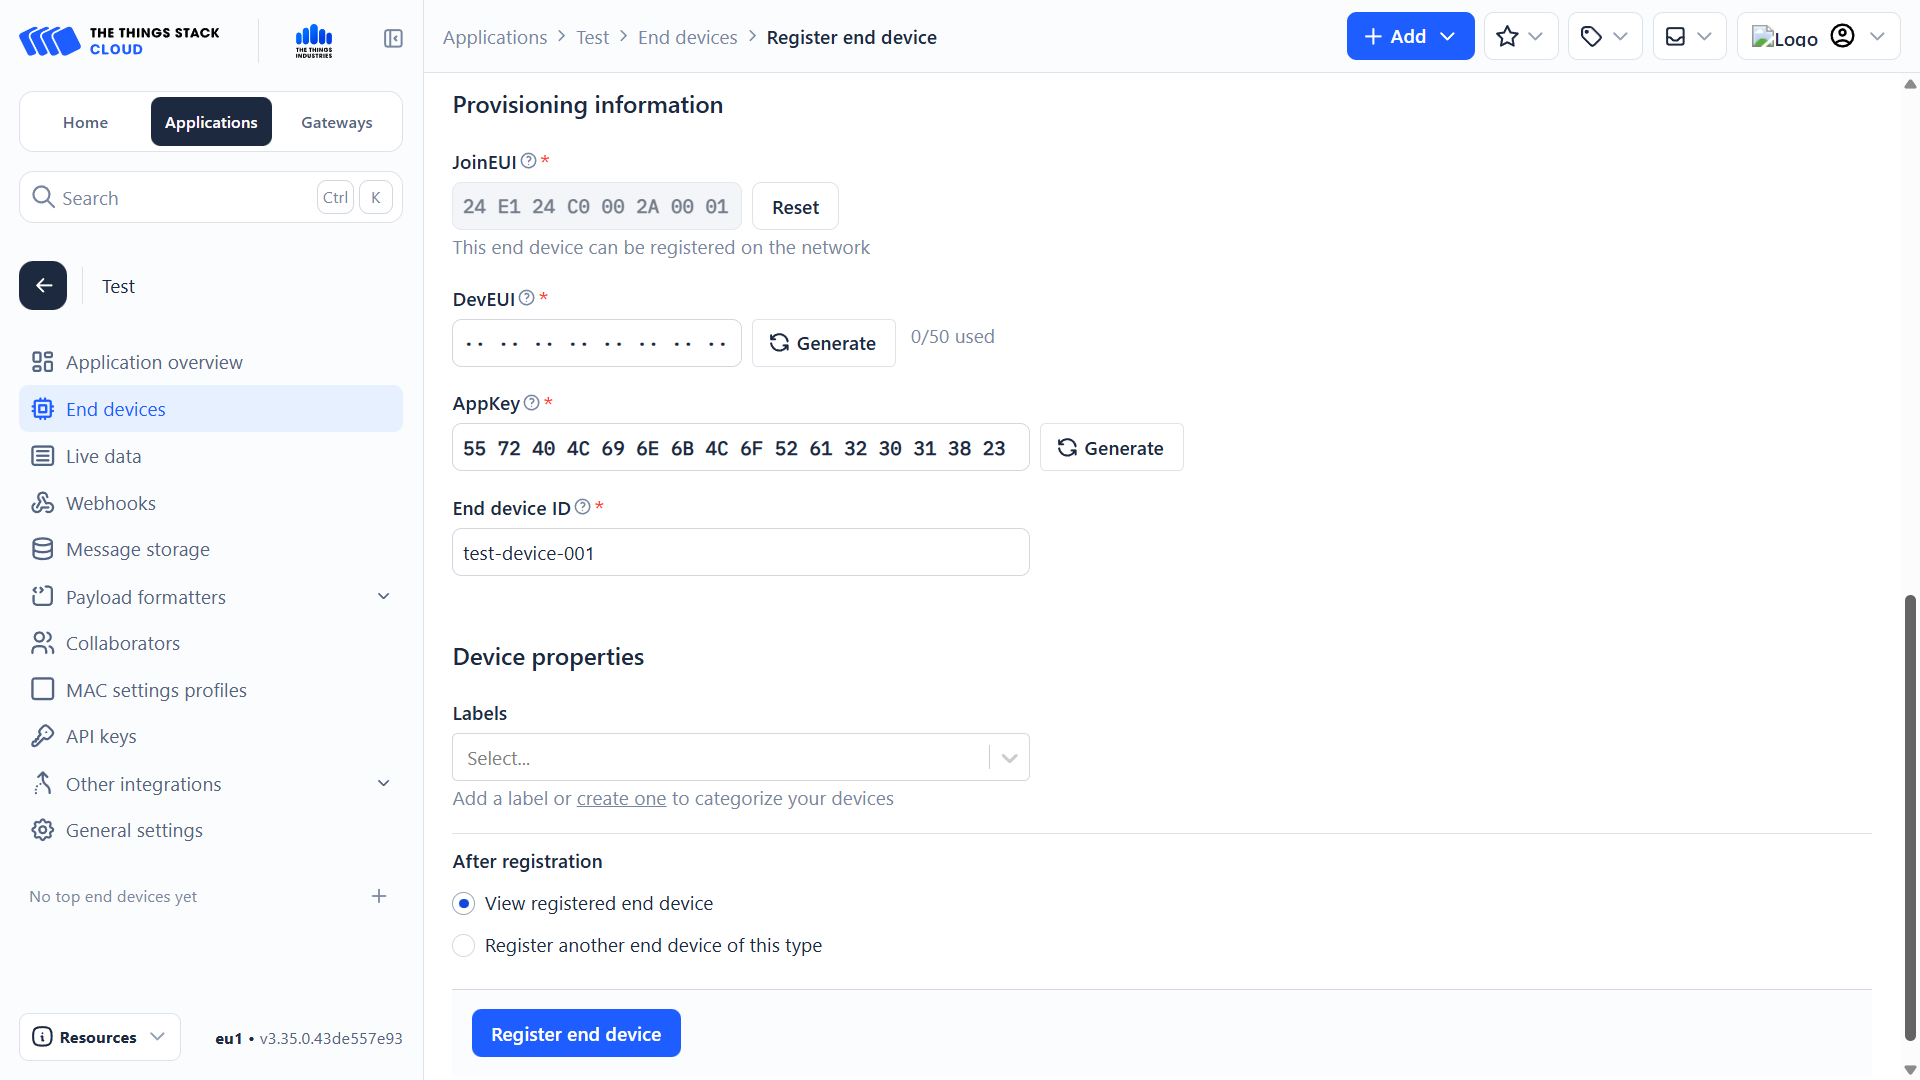
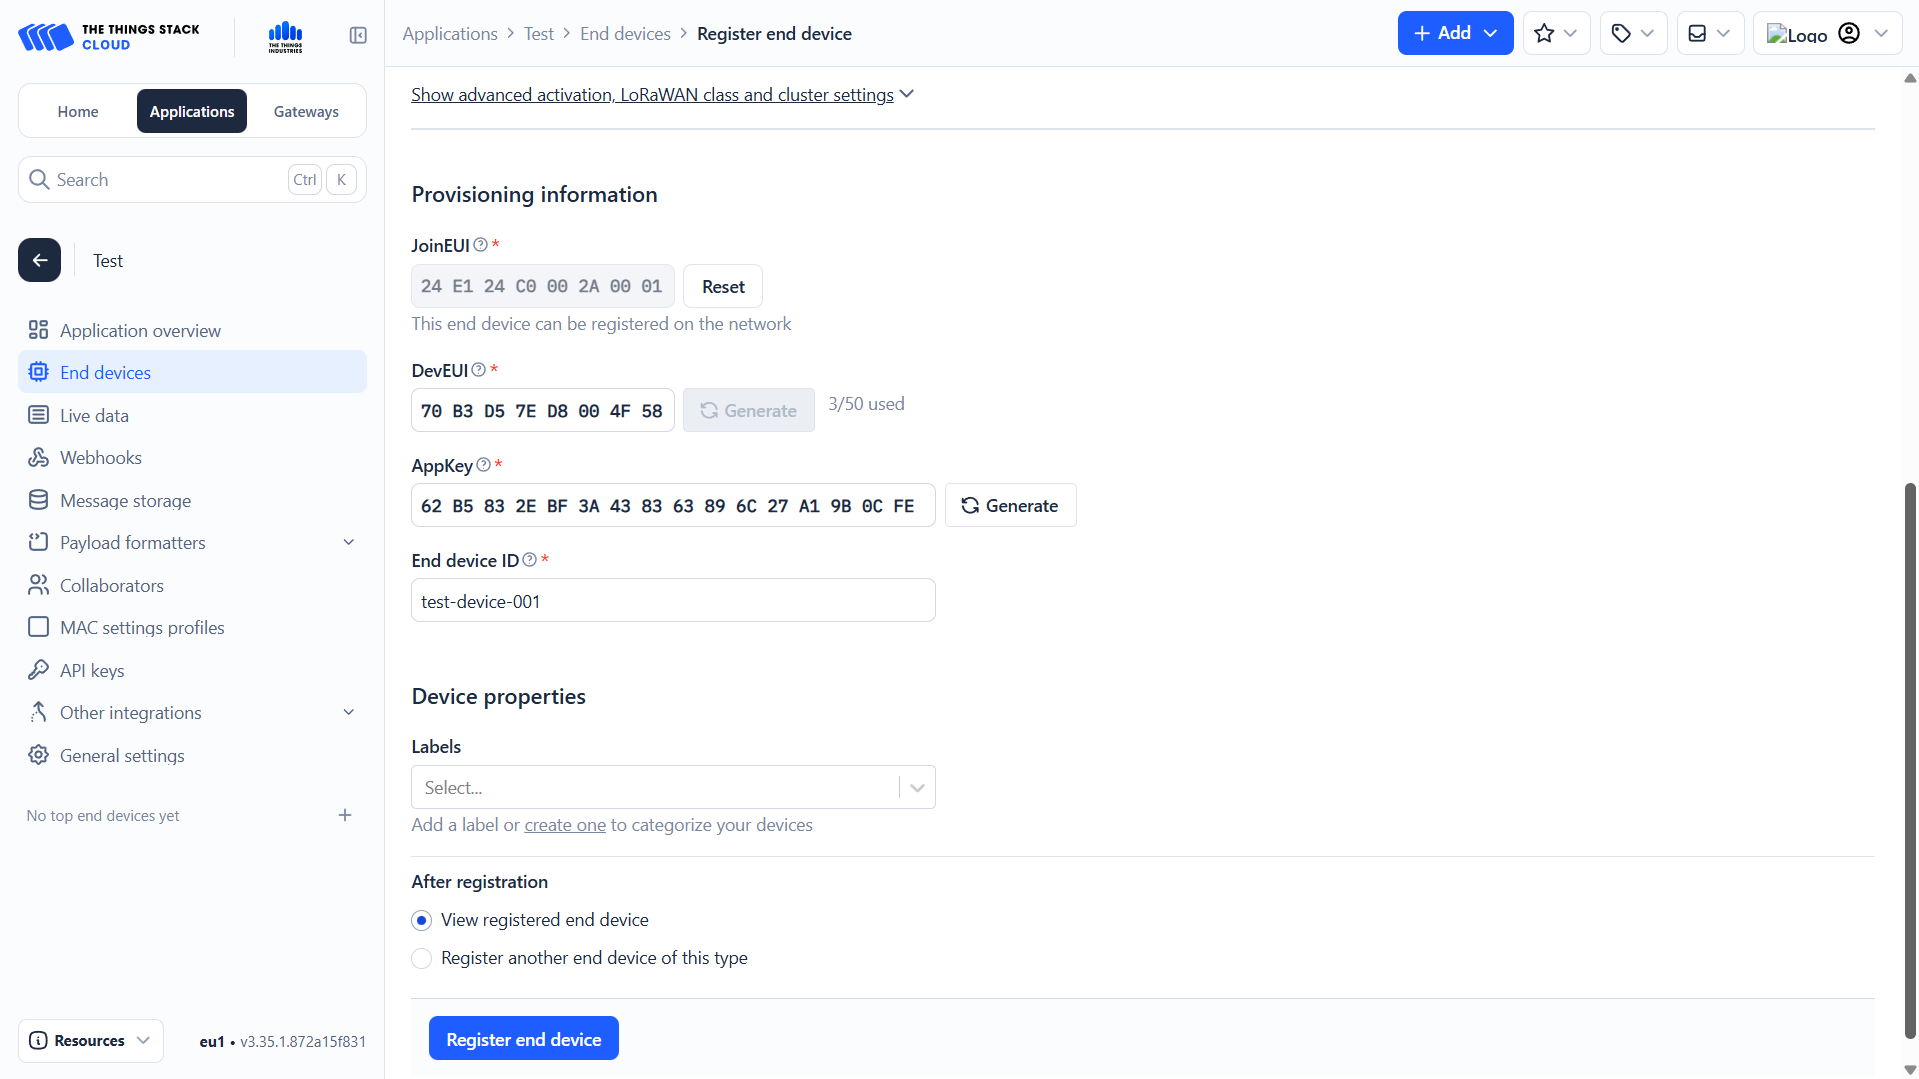
Provisioning Information
-
Enter the JoinEUI (AppEUI) of the device.
-
Click Confirm.
Device Identifiers
-
Fill in the remaining required identifiers:
- DevEUI
- Unique identifier of the device (printed on the device or packaging).
- AppKey
- Application key provided by the manufacturer.
- Device ID
- Your chosen identifier for the device within the application.
- DevEUI
-
(Optional) Add a label matching the application and gateway.
-
Click the blue Register end device button.
End Device Ready
Your end device is now registered and ready to communicate with The Things Stack.
Video Tutorial
If you need further assistance or a visual walkthrough, consult the
Video Guide.